Best Caulking for Kitchen Sink: Top Picks for a Waterproof Seal

Are you looking for the best caulking for your kitchen sink? In this blog post, I am breaking down some popular options you might be considering.
Caulking may seem like a minor detail in your kitchen, but it is pivotal in protecting your sink, countertops, and surrounding areas from water damage and unsightly gaps. Choosing the proper caulking is not merely about aesthetics; it’s about ensuring a watertight seal that can withstand the test of time.
In this comprehensive guide, we delve deep into the world of kitchen sink caulking. We’ll explore the various types of caulking materials available, their distinct advantages and applications, and provide invaluable tips on achieving a professional-grade seal.
Whether you’re a seasoned DIY enthusiast or a homeowner seeking expert advice, this blog post will equip you with the knowledge and insights necessary to make an informed decision.
First, let’s take a deeper look into the advantages of having caulk around your kitchen sink.
Understanding The Value Of Kitchen Sink Caulking
Caulking is vital for a kitchen sink for several reasons.
- Water Sealing: Caulk helps create a watertight seal around the edges of the sink where it meets the countertop. This prevents water from seeping between the sink and the countertop, which could lead to water damage, mold growth, and structural issues over time.
- Preventing Mold and Mildew: Moisture is common around kitchen sinks, and if water gets trapped in the gap between the sink and countertop, it can create an ideal environment for mold and mildew growth. Caulking seals this gap, reducing the risk of mold and mildew development.
- Aesthetic Appeal: Caulk also serves an aesthetic purpose by providing a clean and finished look to the sink installation. It covers any gaps or imperfections in the installation and creates a neat, polished appearance.
- Easy Cleaning: Caulk can make cleaning the countertop around the sink area easier. Without caulk, food particles and debris can accumulate in the gap between the sink and countertop, making it difficult to clean thoroughly.
- Structural Support: In some cases, caulk can provide additional structural support by helping secure the sink. While caulk alone isn’t a substitute for proper sink installation, it can help reinforce the sink’s stability.
- Noise Reduction: Caulking can also help reduce noise by dampening vibrations and sounds that may occur when using the sink.
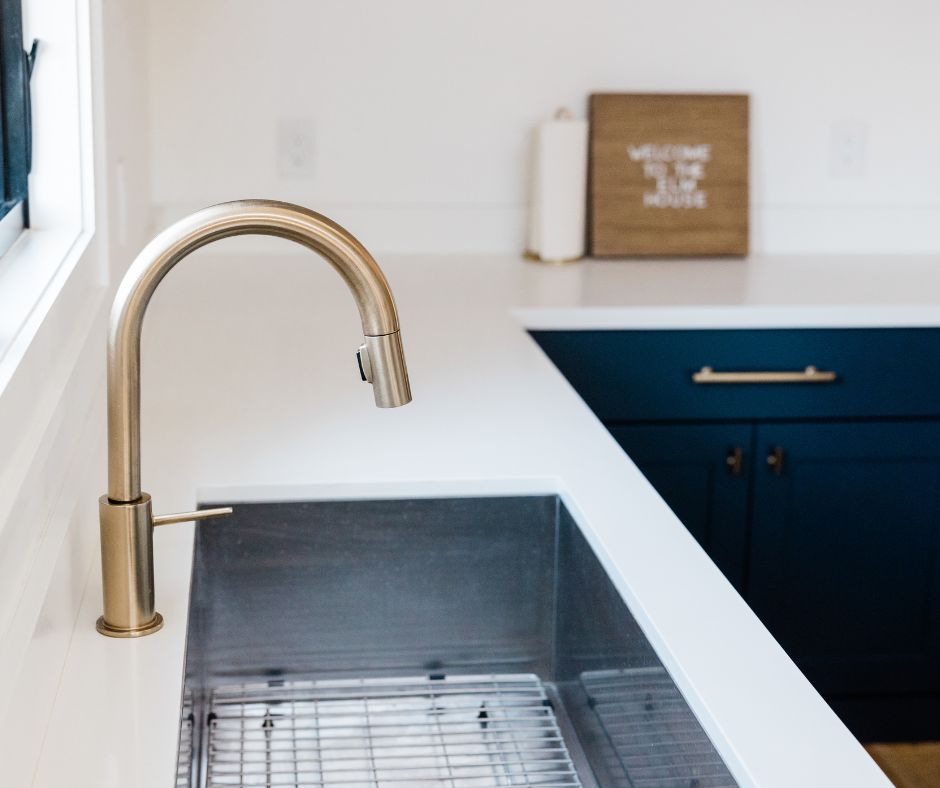
Overall, caulking around a kitchen sink is essential for installation and maintenance. It helps maintain the sink’s functionality, prevents water damage and mold growth, and enhances the kitchen’s overall appearance.
Furthermore, properly applied caulk can extend the lifespan of your kitchen sink and countertop.
Factors To Consider When Choosing A Caulking For Your Kitchen Sink
Some homeowners make the mistake of buying the first caulking type they see at their local hardware store. The problem with this approach is not all kinds of caulk are the same.
For example, some caulking is best for outdoor use, while others may have a more flexible seal than others.
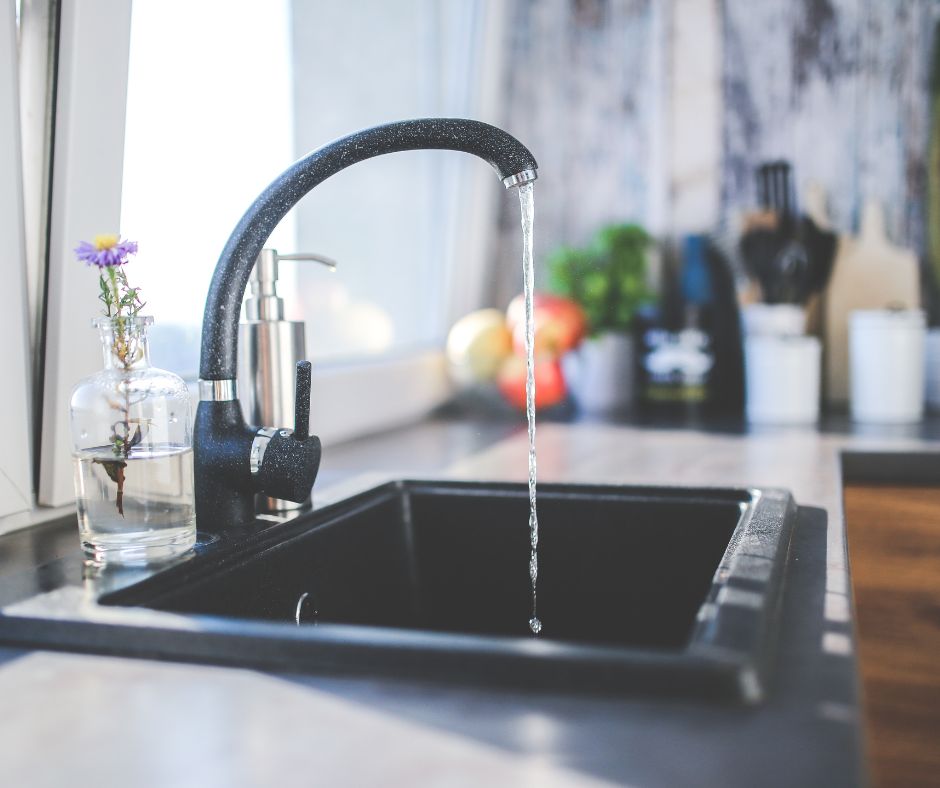
When selecting a caulk for the kitchen sink, it is essential to choose one that is waterproof and can withstand exposure to moisture and heat. Silicone caulk is a popular choice for kitchen sinks because it is flexible, durable, and waterproof. It can also withstand exposure to high temperatures and fast temperature changes without cracking or shrinking.
Choosing one that comes in a color that will be aesthetically pleasing in your kitchen is also a good idea. Typically, you’ll find most caulking is either white, tan, or clear.
Lastly, consider what kind of caulk will work best with the materials of your kitchen counter, sink, backsplash, and cabinets. For example, the best sealants for a stainless steel sink differ from the best option for a fireclay sink. The same applies if you have granite countertops vs. laminate countertops.
Different Types of Caulk for Kitchen Sink
Silicone Caulk
Silicone caulk is a popular choice for sealing kitchen sinks due to its durability and resistance to water and heat. Made of silicone polymer, it is available in clear and colored forms. This type of caulk is also flexible, making it the best choice for areas that experience movement or vibration. It is easy to apply and can be used on various surfaces, including ceramic, porcelain, and metal.
Latex Caulk
Latex caulk is another option for sealing kitchen sinks. It is made of acrylic latex and available in clear and colored forms. This type of caulk is easy to apply and can be cleaned up with soap and water. It is also paintable, making it a good choice for areas that will be visible.
However, latex caulk is less durable than silicone caulk and may need to be reapplied more frequently.
Acrylic Caulk
Acrylic caulk is a versatile option for sealing kitchen sinks. It is made of acrylic polymer and is available in both clear and colored forms. This type of caulk is also relatively easy to apply and can be cleaned up with soap and water. Like the option above, it is also paintable, making it an excellent choice for areas that will be visible. Acrylic caulk is less durable than silicone caulk, but it is more affordable and can be used on a variety of surfaces, including wood, metal, and plastic.
In summary, silicone caulk is the most durable and flexible option for sealing kitchen sinks, while latex caulk and acrylic caulk are more affordable and easier to apply. The choice of caulk will depend on the specific needs and preferences of the user.
Top-Rated Caulk Brands for Kitchen Sink
GE Silicone II
GE Silicone II is a popular choice among homeowners and professionals alike for sealing around kitchen sinks. It is a 100% silicone caulk with excellent adhesion, flexibility, and durability. It can withstand extreme temperatures and is resistant to mold and mildew.
GE Silicone II comes in a variety of colors to match your kitchen decor. It is easy to apply and can be used on a wide range of surfaces, including ceramic, porcelain, and stainless steel.
Gorilla 100% Silicone Sealant
Gorilla 100% Silicone Sealant is another top-rated caulk brand for kitchen sinks. It is a clear caulk that provides a waterproof and mold-resistant seal. It is also heat-resistant and can withstand temperatures up to 400 degrees Fahrenheit.
Gorilla 100% Silicone Sealant is easy to apply and can be used on several surface types, including metal, ceramic, and plastic. It dries quickly and is paintable, making it a versatile choice for any kitchen sink.
DAP Alex Plus
DAP Alex Plus is a hybrid caulk that combines silicone and acrylic to provide a strong, flexible, and durable seal. It is mold and mildew-resistant and works on different surfaces, including ceramic, porcelain, and stainless steel.
DAP Alex Plus comes in a variety of colors to match your kitchen decor. It is easy to apply and can be cleaned with soap and water. It is also paintable, making it versatile for any kitchen sink.
Overall, these top-rated caulk brands provide excellent adhesion, flexibility, and durability for sealing around kitchen sinks. When choosing a caulk for your kitchen sink, consider the surface material, color, and desired properties to ensure a long-lasting and effective seal.
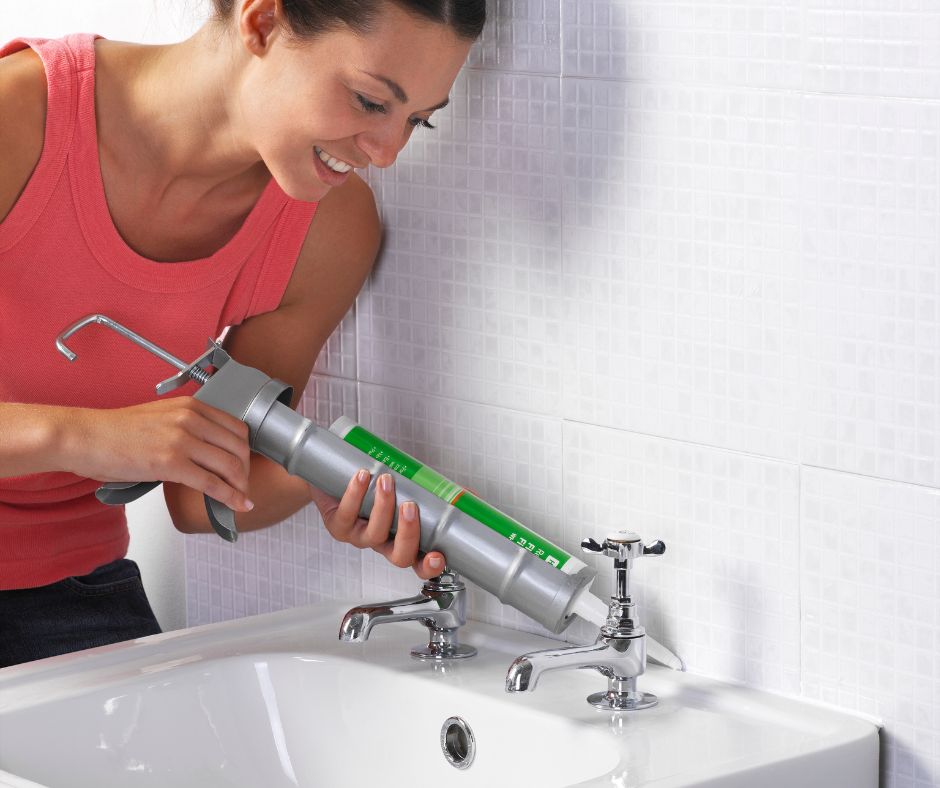
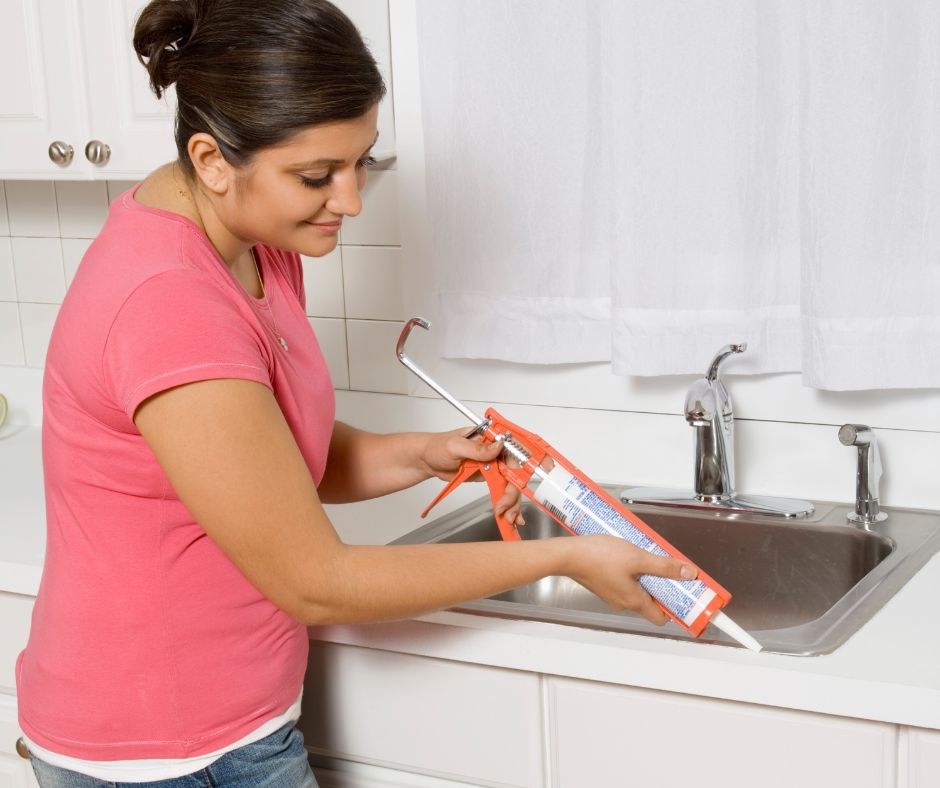
Step-By-Step Guide to Caulking Your Kitchen Sink
Once you’ve chosen the caulking that best suits your needs, it’s time to apply it. Here’s a step-by-step guide to follow.
Preparation
Before beginning the caulking process, prepare the area around the kitchen sink. First, remove any old caulk from around the sink using a caulk remover tool, putty knife, or utility knife if you don’t have the other tools mentioned.
Then, clean the surface thoroughly using a kitchen cleaner and a rag. Allow the surface to dry completely before moving on to the next step. Doing this will ensure a strong bond when you do the application.
Application
Once the surface is clean and dry, it is time to apply the new caulking. Begin by cutting the tip of the caulk tube at a 45-degree angle. Then, insert the tube into a caulking gun and apply a steady, even bead of caulking along the perimeter of the sink.
Working slowly in small sections is a good idea to ensure the caulking does not dry out before it can be smoothed.
The first step is to squeeze the trigger on the caulk gun and apply a thick bead along the edge of the area that needs the caulking.
Once the caulking is applied, you must smooth it out and remove any excess. You can use a caulk smoothing tool or a wet finger to do this. When you smooth the caulking out, work in one continuous motion.
Then, use a damp rag to remove excess caulking and clean up the area around the sink.
Finishing Touches
Before using the sink or applying any finishing touches, such as painting, allow the caulking to dry completely. Doing this can take anywhere from 24 to 48 hours, depending on the type of caulking used.
Remember that caulking is an integral part of maintaining the integrity of your kitchen sink. By following these simple steps, you can ensure that your sink remains leak-free and in good condition for years to come.
If you need more clarification on any of the application steps, look at the instructions that came with your caulking. You’ll find the instructions printed on the caulking tube or the packaging.
Common Caulking Mistakes to Avoid
Not Using Enough Caulk
One of the most common mistakes people make when caulking their kitchen sink is not using enough caulk. When there isn’t enough caulk, water can seep through the gaps and cause damage to the sink and surrounding areas. That’s why you’ll want to use enough caulk to fill gaps and create a watertight seal.
To avoid this mistake:
- Use a caulking gun to apply a continuous caulk bead along the sink’s edge.
- Make sure the caulk is evenly distributed and fills any gaps.
- If you need to figure out how much caulk to use, start with a small amount and add more as needed.
Removing The Existing Caulk
Unless this is a newly built home or kitchen installation, there’s a good chance there’s already some caulking in place. Remove as much old caulking as possible to ensure you get the best results.
Doing this step may be time-consuming, but in doing so, you will get a strong adhesion that is effective and durable for years to come.
Skipping Surface Preparation
Another common mistake is skipping surface preparation. Before applying caulk, make sure you take the time to clean and dry the area thoroughly. Any dirt, grease, or moisture can prevent the caulk from adhering correctly and cause it to fail.
To avoid this mistake:
- Clean the area around the sink with a mild detergent and water.
- Rinse thoroughly and dry completely with a clean cloth.
- If mold or mildew is present, use bleach and water to kill the spores and prevent them from growing back.
By avoiding these common caulking mistakes, you can ensure that your kitchen sink stays watertight and free from damage.
Maintaining Your Caulk
To ensure your kitchen sink remains clean and hygienic, maintain the caulking around it as best you can. Here are a few tips to help you maintain your caulking:
- Clean the area regularly. Dirt and grime can accumulate around the sink, which can cause the caulking to deteriorate. It is important to clean the area regularly with a mild detergent and warm water.
- Avoid harsh chemicals. Harsh chemicals can damage the caulking, so avoiding using them around the sink is a good idea. If you need to use a cleaner, ensure it is safe for caulking.
- Check for cracks. Over time, caulking can crack and deteriorate, allowing water to seep through. Check for cracks regularly and replace the caulking if necessary.
- Use a silicone-based caulk. Silicone-based caulking is more durable and resistant to water damage than other types of caulking. It is recommended that you use a silicone-based caulk around your kitchen sink.
By following these simple tips, you can ensure that your kitchen sink remains clean and hygienic.
Choosing the right caulk for a kitchen sink is crucial in ensuring that the sink is properly sealed and protected from leaks and water damage. With the numerous available options, selecting the best one for your needs can be overwhelming. Hopefully, this blog post has helped you narrow down the best choice for your home.
Related Posts


