How to Get Rid Of Landscaping Rocks – Clearing the Way: A Comprehensive Guide
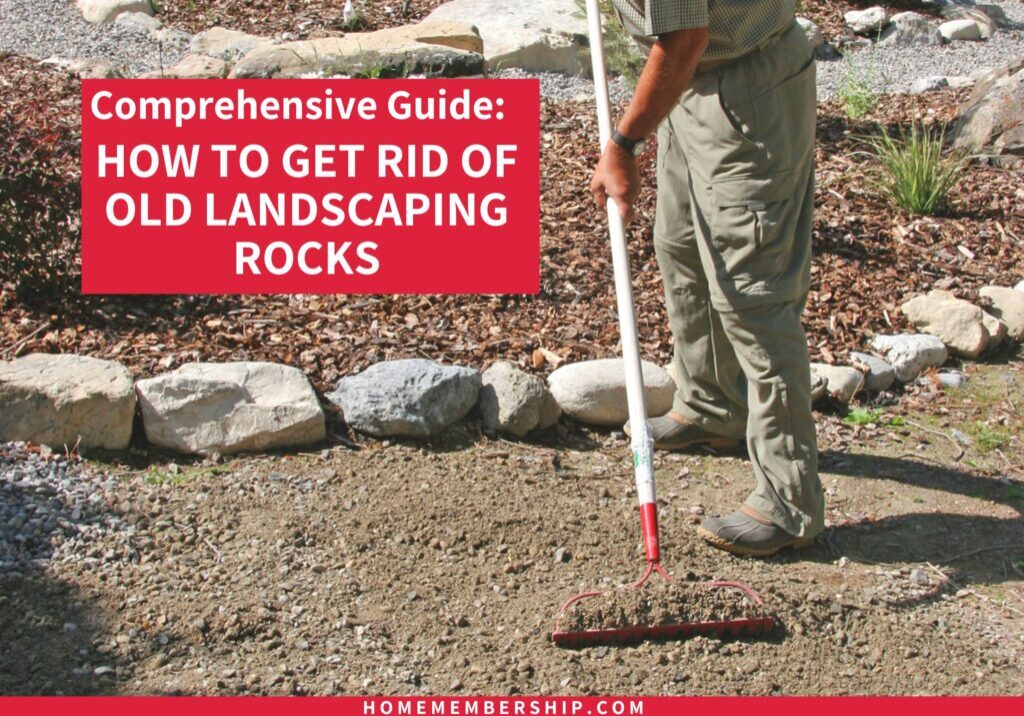
As the seasons change, so do our landscaping preferences. One of the most frustrating setbacks homeowners can face is trying to figure out how to get rid of landscaping rocks. Perhaps you’ve decided to revamp your outdoor space, and the first hurdle you face is dealing with those old, unwanted landscaping rocks.
Whether they’re large boulders, river rocks, or small pebbles, finding the best way to dispose of them can be a challenge. In this guide, we’ll help you find an easy way to seamlessly remove those unwanted rocks from your property and pave the way for a fresh start.
Clearing the Way: A Comprehensive Guide on How to Get Rid of Old Landscaping Rocks
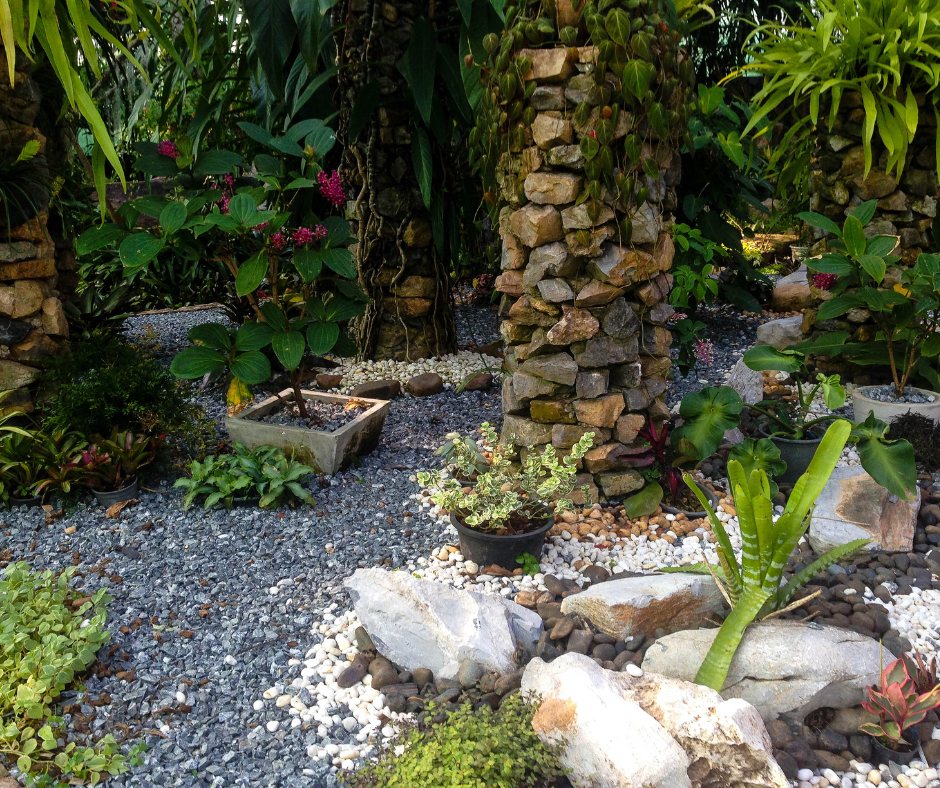
1. Assessing the Landscape Rocks:
The first thing to do is assess the types and quantities of rocks you have. Are they large boulders, smaller stones, or a mix of different materials? Understanding what you’re dealing with will guide you in choosing the most efficient removal method.
Types of Rocks
Let’s take a look at some of the different types of stone commonly used for landscaping. We can consider different methods for removing each one, and some of the specific challenges each one may present.
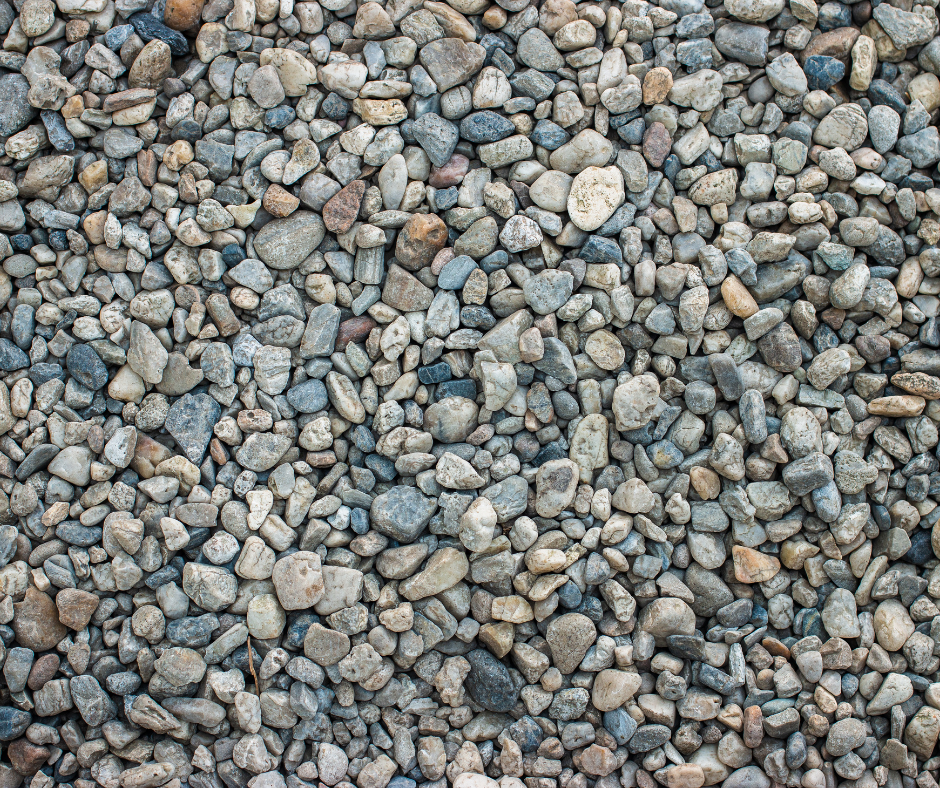
River Rocks:
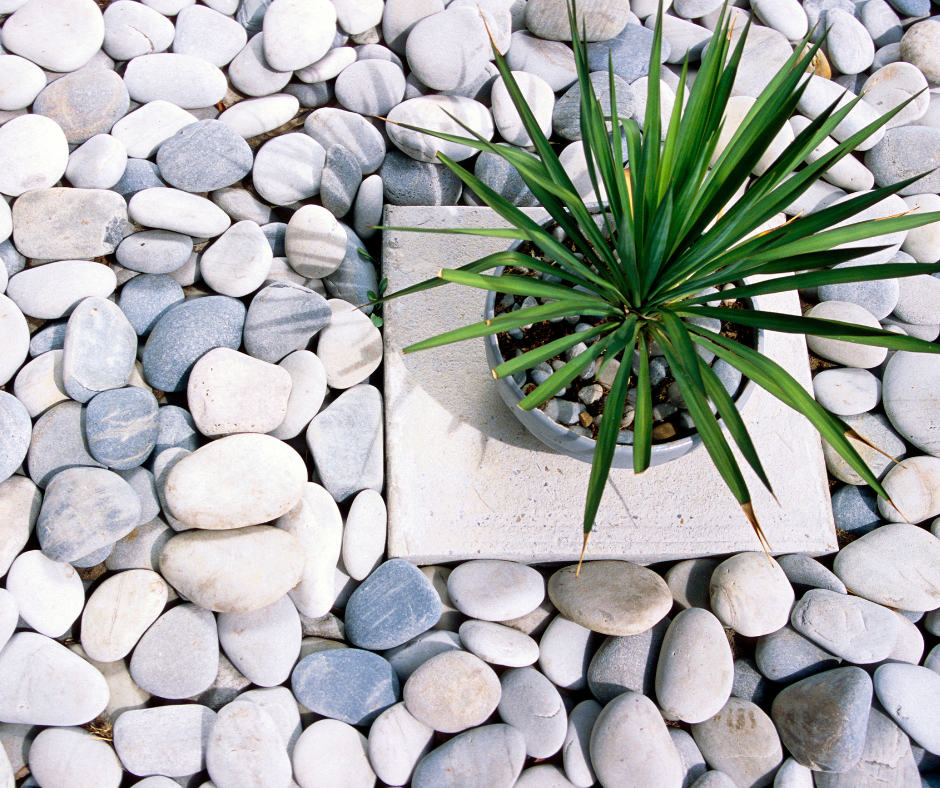
Smooth and rounded by natural water processes, river rocks come in various sizes and colors. They are excellent for creating natural-looking borders, accentuating water features, or adding texture to garden beds.
Method: River rocks, being smooth and rounded, can be relatively easy to handle. Utilize a sturdy wheelbarrow or buckets for smaller quantities. For larger amounts, consider using a shovel or a small front-end loader to transport them to the desired location.
Challenges: The main challenge with river rocks is their weight. While they are smooth and aesthetically pleasing, the accumulated weight can make transporting larger quantities physically demanding. Consider enlisting help for heavy lifting tasks.
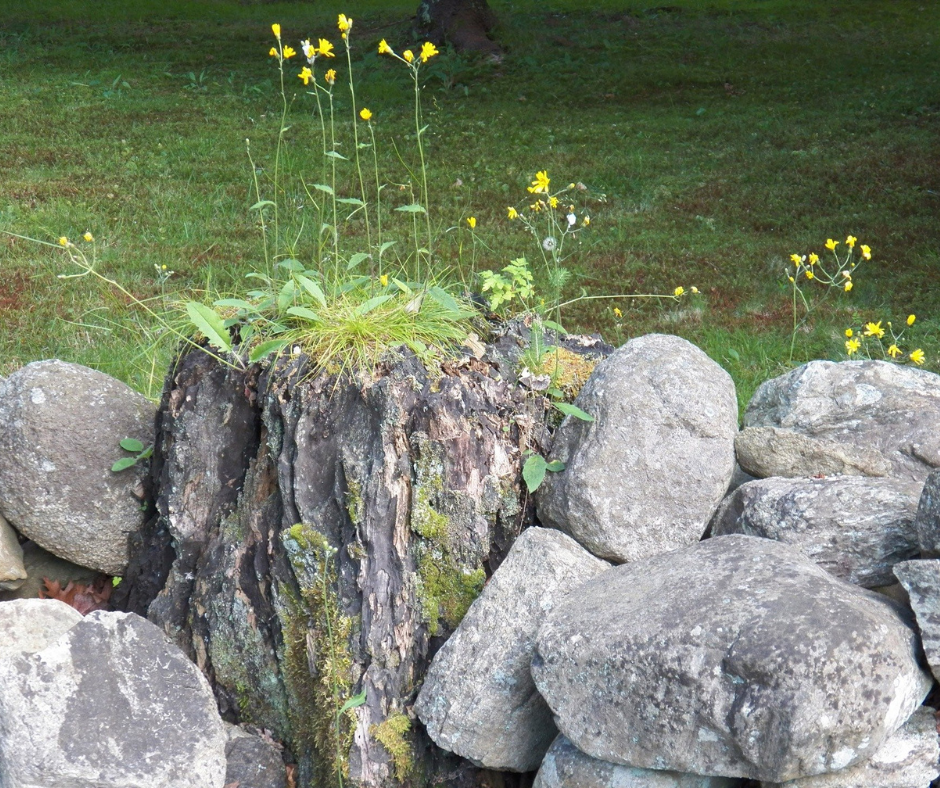
Large Boulders:
Majestic and impactful, large boulders serve as focal points in landscaping. They can be strategically placed to anchor the design, provide seating, or create a dramatic focal point in your garden.
Method: Moving large boulders requires specialized equipment such as a skid steer, excavator, or crane. Professional landscapers or equipment rental services can assist in lifting and relocating these hefty features.
Challenges: The primary challenge is the sheer weight and size of large boulders, making manual relocation impractical. Additionally, precision is crucial to avoid damaging surrounding structures or plants during the moving process.
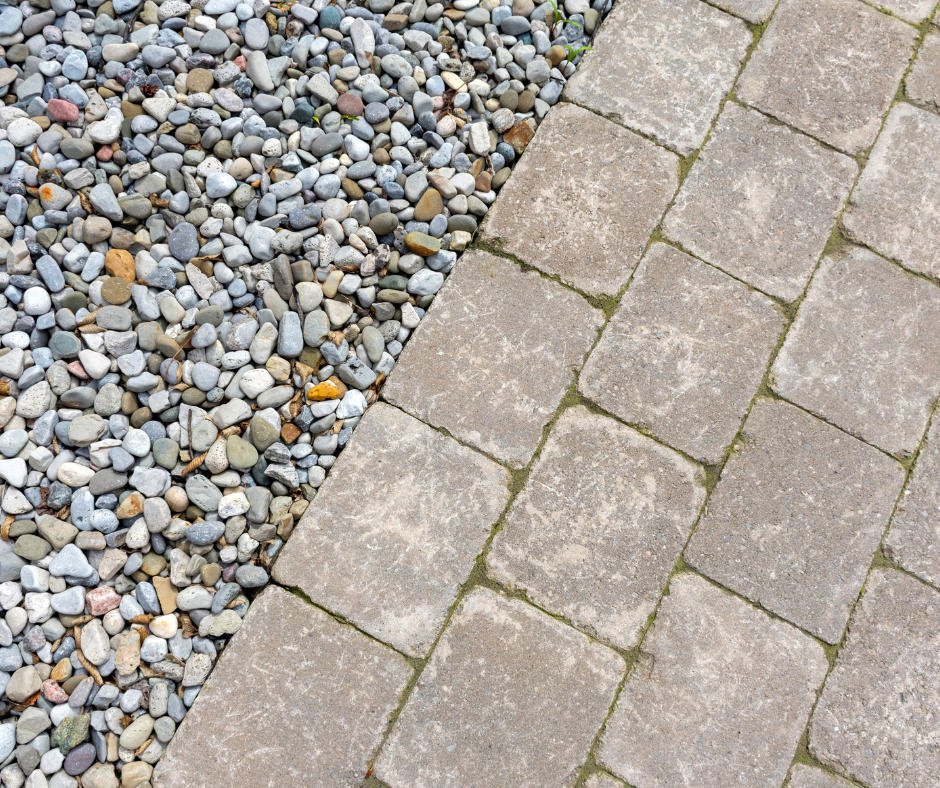
Pea Gravel:
Consisting of small, smooth, and rounded stones, pea gravel is a versatile option. Ideal for pathways, driveways, or as a ground cover, pea gravel adds a neat and charming touch to your landscape.
Method: Pea gravel is relatively easy to handle due to its small size. Using a sturdy wheelbarrow or buckets, you can efficiently transport pea gravel to its new location.
Challenges: While the individual stones are small, the sheer volume of pea gravel needed for certain projects can be challenging to manage. Consider the logistics of moving and spreading large quantities evenly.
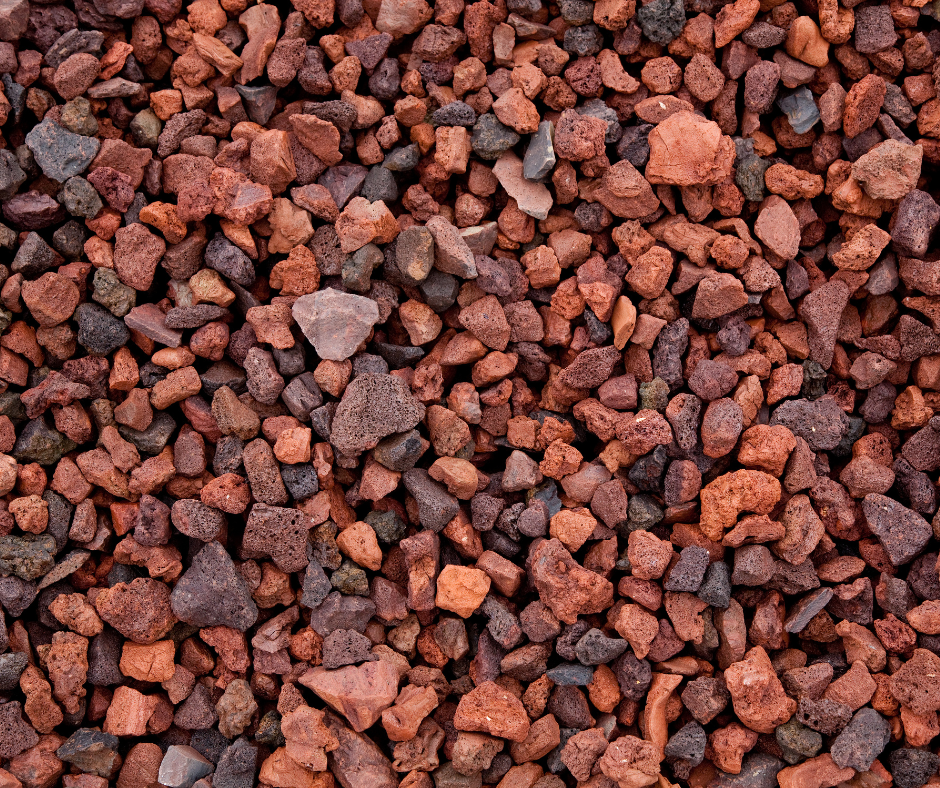
Lava Rocks:
These lightweight, porous rocks are formed from volcanic lava. Their distinctive reddish-brown or black color can create a striking contrast in garden beds. Lava rocks are known for their ability to retain heat, making them suitable for areas with cooler climates.
Method: Similar to river rocks, lava rocks can be moved manually using wheelbarrows or buckets for smaller quantities. For larger amounts, heavy machinery like a front-end loader may be necessary.
Challenges: The lightweight nature of lava rocks can pose a challenge in windy conditions, as they may be prone to scattering. Additionally, their porous structure can make them prone to collecting debris and dirt, requiring cleaning before reuse.
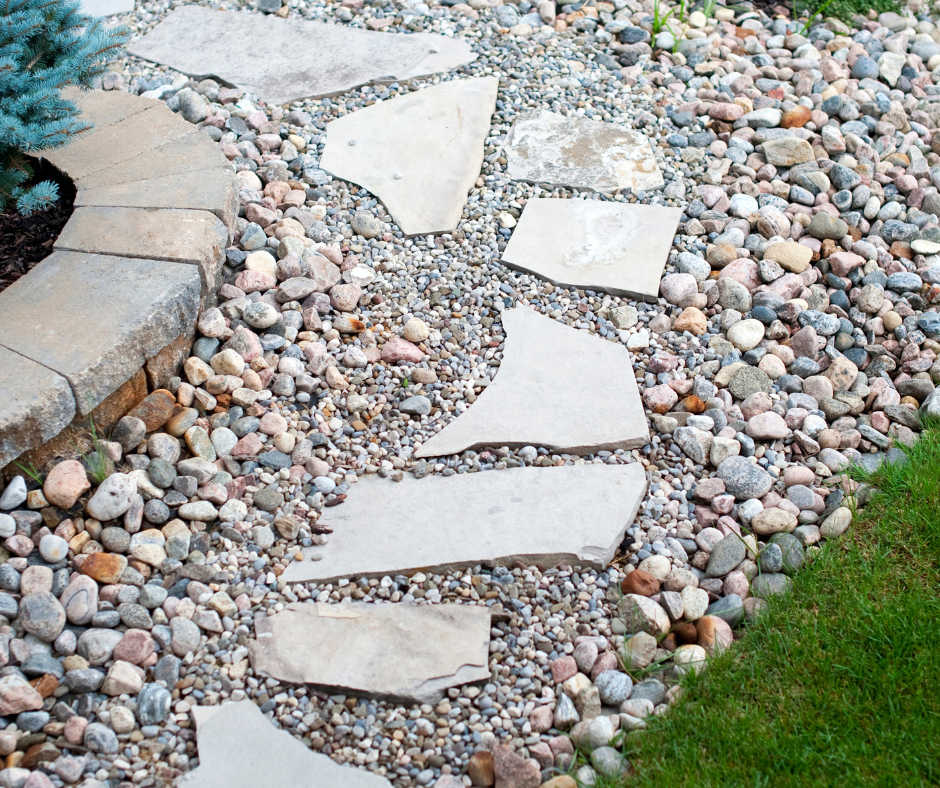
Flagstone:
While not exactly a “rock,” flagstone deserves mention for its popularity in landscaping. This flat, natural stone is commonly used for pathways, patios, and stepping stones. It offers a timeless and rustic charm to outdoor spaces.
Method: Flagstones are typically flat and can be manually lifted for small projects. For larger removal projects, a dolly or hand truck can aid in transportation. When relocating and reusing flagstone, precision placement is crucial for creating stable pathways or patios.
Challenges: The irregular shapes and varying thickness of flagstones may present challenges in relocation. Large pieces can be very heavy, and their flat shape can make them very difficult to handle alone.
Granite Rocks:
Known for their durability and versatility, granite rocks are often used in hardscaping projects. They come in various sizes and colors, making them suitable for anything from pathways to decorative accents.
Method: Similar to large boulders, granite rocks may require heavy machinery for relocation. Excavators or front-end loaders can be used to lift and move these dense rocks efficiently.
Challenges: The weight and density of granite rocks can make them challenging to transport manually. Care must be taken to prevent damage to the surrounding landscape or structures during the removal process.
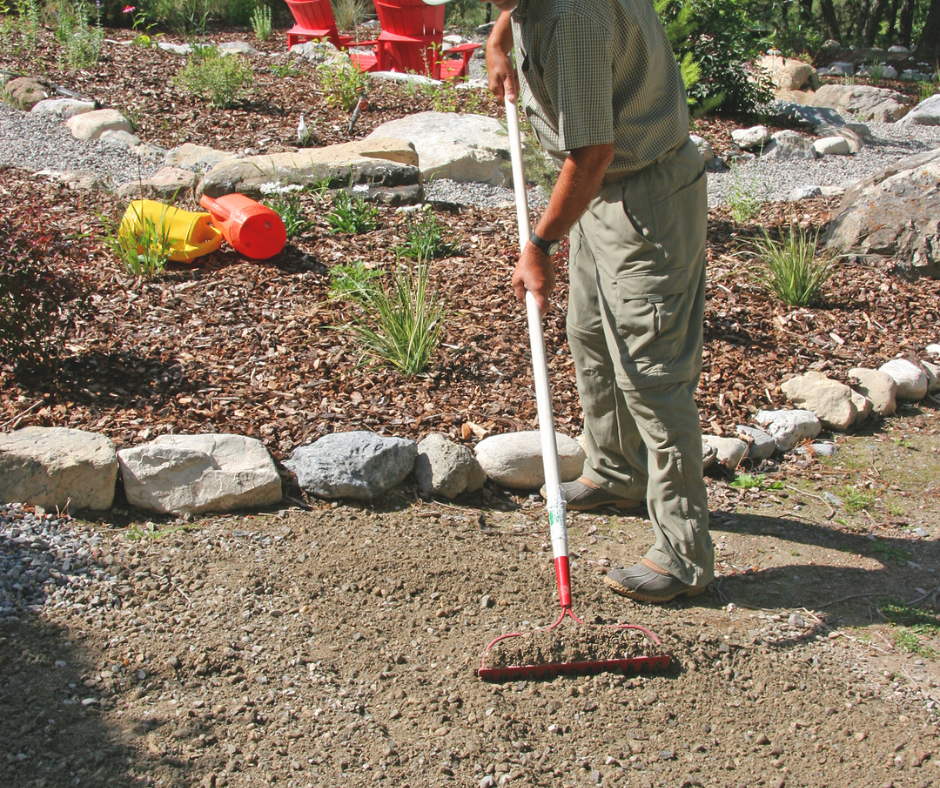
2. DIY Methods: How to Get Rid of Landscaping Rocks at Home
If you’re looking to tackle the removal on your own, consider some DIY methods. One option is to repurpose the rocks in your garden beds or create a stylish fire pit. Alternatively, you can use online platforms like Facebook Marketplace to offer them for free, turning your old landscaping rocks into someone else’s treasure.
No matter what you are going to do with the rocks, the toughest part of getting rid of landscaping rocks can be separating them from the surrounding soil or mulch. Let’s take a look at some practical steps to ease this process:
Removing Gravel with Shovels and Rakes: A Step-by-Step Guide
When it comes to removing gravel from your outdoor space, shovels and rakes are essential tools that can make the task more manageable. Whether you’re preparing for a new landscaping project or simply looking to repurpose the gravel elsewhere, here’s a step-by-step guide on how to efficiently use shovels and rakes for gravel removal:
Tools Needed:
- Shovel: Choose a sturdy shovel with a flat blade, which is ideal for scooping and lifting gravel.
- Rake: A heavy-duty rake with strong tines will help level the ground and separate gravel from soil.
Step 1: Safety First
Before you start, ensure you are wearing appropriate safety gear, including gloves to protect your hands and sturdy footwear for traction. If the gravel area is extensive, consider using knee pads to minimize discomfort.
Step 2: Clear the Area
Remove any obstacles or debris from the gravel area. This includes larger rocks, twigs, or any other items that could impede the efficiency of your shoveling and raking.
Step 3: Start Shoveling
Begin shoveling the gravel by inserting the shovel blade into the material. Position the shovel at a slight angle to the ground to scoop up a manageable amount of gravel with each lift.
Step 4: Lift and Transfer
Lift the shovel with the loaded gravel and transfer it to a wheelbarrow or another designated area. Take care to use your legs and not your back for lifting to avoid strain or injury. If you are planning to reuse the material, you may want to collect as much as you can in a “clean” pile on a tarp, then scoop the rest into a “dirty” pile for disposal.
Step 5: Rake and Level
After a section of gravel has been removed, use the rake to level the ground. Drag the rake through the soil to separate any remaining gravel from the dirt. This will help ensure a smooth and even surface.
Step 6: Repeat the Process
Continue this process systematically, working in manageable sections. Shovel, lift, transfer, rake, and level each area until the desired amount of gravel has been removed.
Tips:
- Work in Sections: Divide the gravel area into smaller sections to make the process more manageable.
- Use the Right Shovel: If the gravel is compacted or mixed with soil, consider using a spade shovel for easier penetration.
- Adjust Rake Depth: Depending on the size of the gravel, adjust the depth of the rake to effectively separate it from the soil.
- Teamwork: If the area is extensive, consider enlisting help to speed up the process. One person can shovel, while another rakes and levels.
Conclusion:
Using shovels and rakes for gravel removal is a practical and efficient method that allows you to repurpose or prepare your outdoor space for a new landscaping project. By following these steps and incorporating safety measures, you can transform your gravel-covered area with ease.
3. Professional Assistance: Call someone who knows how to get rid of landscaping rocks!
For those with larger quantities of rocks or heavy boulders, seeking professional help might be the best option. Local landscaping companies or junk removal services can efficiently handle the heavy lifting and disposal, saving you time and effort. Be sure to inquire about their rates, hours of operation, and any weight limits they may have.
4. Dumpster Rental:
For extensive landscaping projects, renting a roll-off dumpster could be a great solution. This allows you to dispose of large quantities of rocks at your own pace. Check with local dumpster rental services for their rental periods, weight limits, and final prices.
5. Recycling and Donation:
Consider recycling your old landscaping rocks. Local recycling centers often accept road-based materials like rocks. Additionally, you can contact charitable organizations or community projects that may have a use for them. Remember, one person’s waste could be another person’s landscaping treasure.
6. Municipal Disposal Options:
Check your local waste management company or transfer station for guidelines on how to get rid of landscaping rocks at your nearest landfill. They may have specific regulations or designated areas for these materials. Some municipalities also offer free dump days for residents to dispose of large items at no cost.
7. Local Classifieds and Newspapers:
Utilize local classifieds or newspaper ads to connect with interested parties looking for landscaping materials. This not only helps you get rid of the rocks but also contributes to community reuse efforts.
Conclusion:
Getting rid of old landscaping rocks doesn’t have to be a daunting task. With the right approach, you can clear the way for your new outdoor haven. Whether you choose a DIY method, seek professional assistance, or explore recycling options, there’s a solution that suits your needs. Remember, by responsibly disposing of your rocks, you’re not only enhancing your space but also contributing to sustainable waste management practices in your community. So, take the first step, assess your landscape, and embark on a rock-free journey towards your dream outdoor oasis.
Considering a lush lawn transformation? Dive into the ultimate guide on artificial grass vs. real grass. Uncover the pros and cons of each option, and make an informed decision for your outdoor oasis. Whether you’re a garden enthusiast or seeking low-maintenance elegance, this resource has everything you need to know. Embrace the beauty that suits your lifestyle and elevate your curb appeal effortlessly.


