How To Install Solar Panels Step-By-Step – The Complete Homeowners Guide

This guide will help you understand what it takes to install solar panels in your home. Start planning and making the most of solar energy!
Installing a solar panel system in your home is one of the best ways to reduce energy consumption and save money on energy bills. However, it’s essential to ensure you do the job right to get the most out of your investment.
In this blog post, we will discuss the steps involved in installing solar panels, from choosing the right equipment to testing them after installation. We will also answer some frequently asked questions about solar panel installation so you can have peace of mind when undertaking this project.
First, let’s answer the number one question asked by homeowners; can you install your solar panels yourself?
Can I Install Solar Panels Myself?
The answer to the question of whether you can install solar panels yourself depends on your level of expertise, experience, and resources, as well as your local jurisdictions. If you are experienced in electrical work and have access to the appropriate tools and materials, installing a solar panel system yourself is possible.
However, specific states may require that all installations be performed by licensed professionals such as electricians or certified solar contractors for them to qualify for tax credits or other incentives. If you plan to take advantage of these incentives, research whether you can do the installation yourself or not to qualify.
Some jurisdictions also require the necessary permits to install a solar panel system. Check with your local authority about the requirements before beginning your project.
Ultimately, the decision should depend on whether your knowledge and resources meet the requirements for completing the project. You should also consider if you are comfortable doing the project, as you will need to work on your home’s roof to install your own solar equipment.
Tools Needed To Install Your Solar Panels
In addition to the materials mentioned above, you’ll need specific tools and equipment to complete the installation, including:
- Safety equipment (gloves, eye protection, ladders, etc.)
- Electric drill
- Screwdriver
- Wire cutters and strippers
- Insulation pliers
- Multimeter for testing the electrical system
- Soldering iron and flux (optional)
Materials Needed To Install Your Solar Panels
Before installing a solar power system, you must purchase the appropriate materials.
This includes:
- Solar panels (photovoltaic modules or pv panels)
- Mounting hardware (rails, wires, and screws)
- An inverter to convert the solar energy into usable AC power
- Power meter if you are connecting your system to the grid
- Batteries (optional, depending on your setup)
- Battery charger (optional)
It’s also crucial to research the local building codes in your area to ensure the installation meets all safety regulations.
How To Install Solar Panels Step-By-Step
Once you have the necessary materials, it’s time to install your solar panel system.
Set Up Scaffolding or A Ladder
Since you will be up on the roof installing your solar panels, you must ensure you have a safe way to get up and down. You can either use scaffolding or a ladder. Make sure you securely brace it before attempting to climb up.
If you don’t have a ladder or any scaffolding, consider renting it from your local hardware store or borrowing it from someone you know.
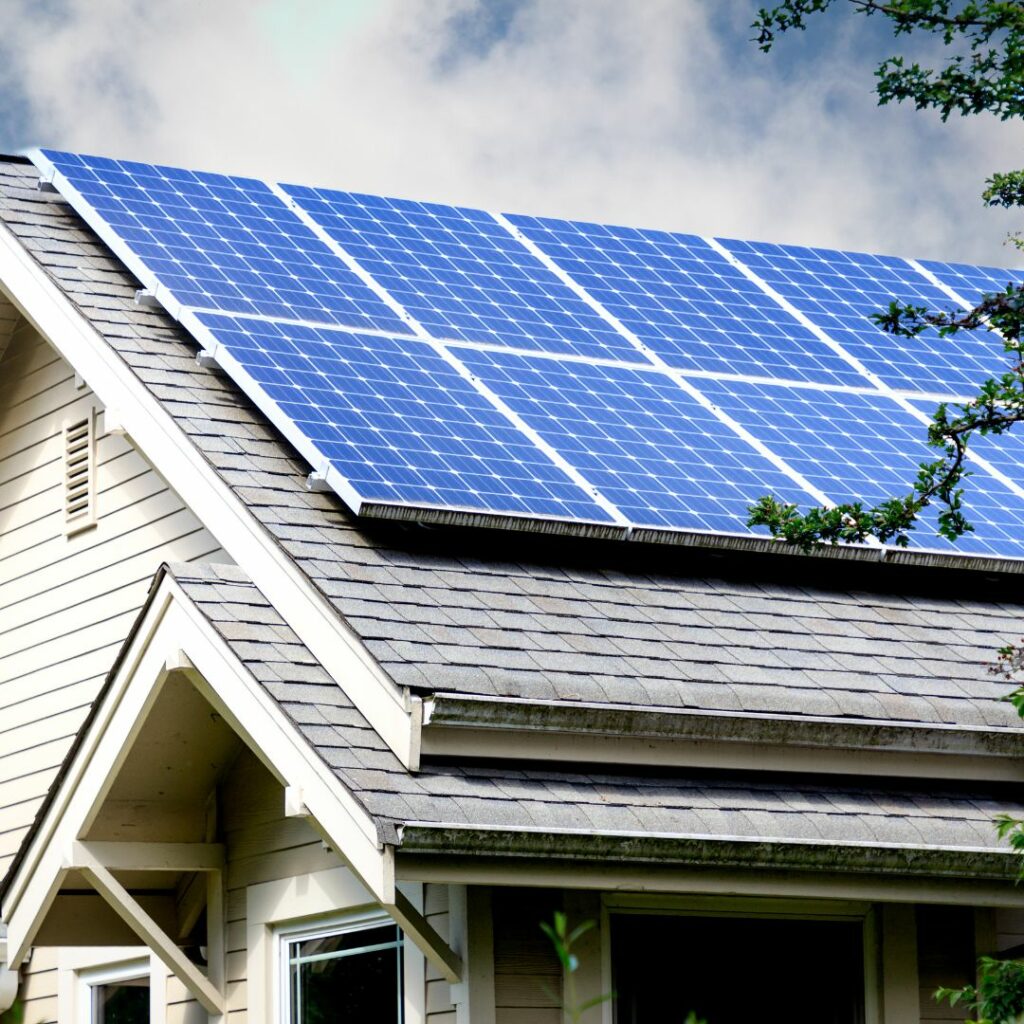
Install The Mounting Structure For Your Panels
Before installing the solar panels, the first thing you need to do is set up the mounts that will hold the panels.
It is essential to make sure you buy the correct mounting system to work with your roof style.
If you have a sloped roof, you will need a different mounting system than your flat roof.
Rail systems attach directly to the roof or a ballasted mount that sits on top of the roof and attaches with weights. If you are still determining which approach would be best for your roof, check with a local solar installer.
No matter which mounting style you go with, follow all the manufacturer’s instructions so that the mounting system is securely attached to your roof.
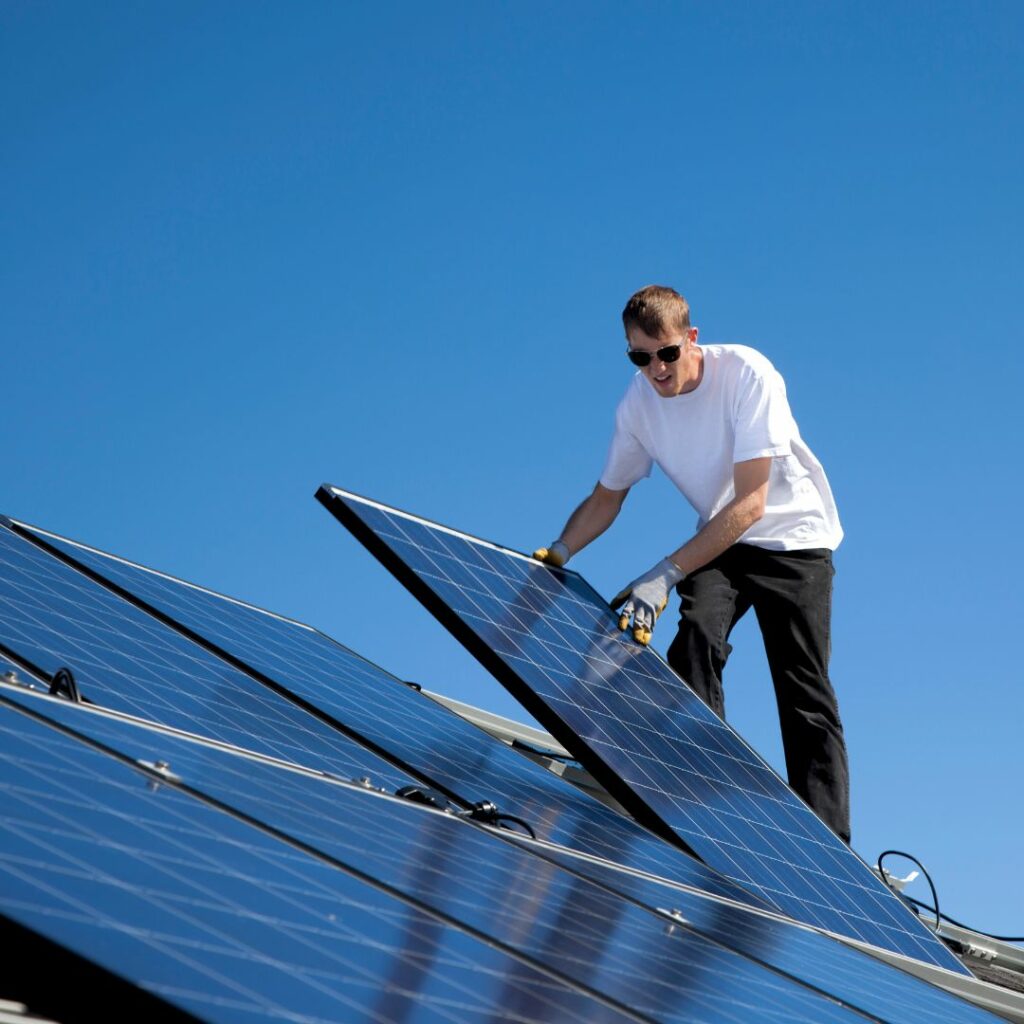
Attach The Solar Panels To The Mounts
The next step is installing your solar panels to the mounting system. This part will be easy because you won’t be working with live wires yet. However, these panels can be hefty, so don’t drop them.
When mounting your solar panels, follow your installation guide fully so that they can work efficiently and effectively.
Set Up The Electrical Wiring & Battery System (if applicable)
Once the solar panels are in place, it’s time to set up the wiring and battery system (if you opted for one). This includes running wires from the panels to an inverter, then connecting the inverter to your home’s electrical panel. You may also need to install a meter if you are connecting your solar power system to the grid.
For this part of the process, you must work slowly and cautiously, as you will be dealing with live wires.
If you bought your solar panels from a local manufacturer, they should have very detailed instructions, including information about which type of wire and breaker size you need. Make sure you follow these instructions thoroughly.
Most solar panel installation processes will follow these basic steps:
- Run conduits from the panels to the interior control panels. Your instructions may also tell you to use waterproof sealing to prevent the wires from coming in contact with sun, rain, snow, hail, etc.
- Set up the system’s battery bank (if you opted for one) and the charger.
- Connect the solar inverter to your home’s main electrical panel, making sure you use a compatible breaker that matches the size of your power system.
- Install a meter (if you are connecting to the electrical grid).
Ensure you follow all instructions for your specific system, and double-check all connections and wire splices before powering up your system.
And remember, you are working with live wires, so be extra careful. If you feel uncomfortable with this part of the process, getting help from a professional is better.
Turn On & Test Panels
The final step is to turn your panels on and test if they work correctly.
Most systems have a manual telling you how to test the solar panel system. This step usually involves connecting a meter between the charge controller and the battery to check for current flow. You can also check the voltage of your panels to ensure they are working correctly.
If all looks good, you can power up your system.

FAQs
Which direction is best to install a solar panel?
The best direction to install solar panels is typically southward, as the angle of the sun’s rays maximizes during this time of day.
Installing them in this direction allows you to capture more energy from the sun and make the most of your solar panel system.
Additionally, if you live in a specific region where weather patterns differ, you may want to adjust your panels to seasonal changes.
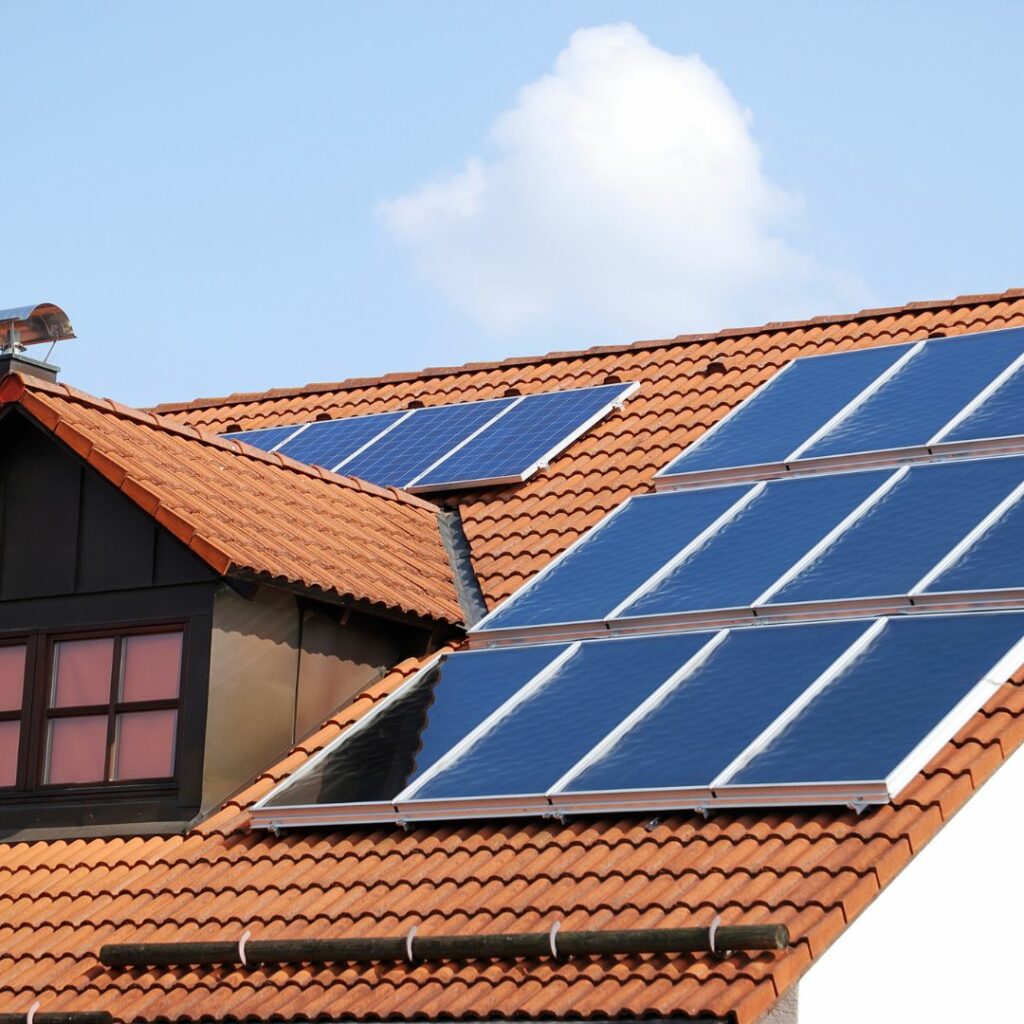
Which type of roof is best for solar panels?
A flat or slightly sloped roof, a south-facing roof with no obstructions such as trees, buildings, or other objects that may block direct sunlight, is the best type of roof.
The ideal tilt angle should be around 10-30 degrees depending on the season and your location.
Additionally, it’s important to ensure that the roof has no broken shingles and can support the weight of your solar panel system. Speak with a professional before installation to get the best results!
How much weight do solar panels add to a roof?
Solar panels typically add about 4-6 ounces per square foot to a roof, depending on the size and type of the panel. A typical solar system weighs between 150 and 200 pounds for every 100 square feet of coverage.
However, this number will differ based on the specific type of solar panel and its size.
It is important to speak with a professional before installation to ensure your roof can safely support the weight of your solar panel system.
How many solar panels does my home need?
The number of solar panels needed for your home depends on the size and nature of your energy needs.
Generally, it takes about 20 solar panels to generate enough electricity to power a typical house. However, this number can vary depending on how much electricity you use and the type and efficiency of the solar panel system you choose.
For an accurate estimate, speaking with a professional before making decisions is best.
What are the best solar panels?
Many different types of solar panels are available, and determining which one is best for you will depend on various factors, such as the amount of power you need, your budget, etc.
Factors to consider when selecting a solar panel include:
- efficiency ratings;
- cost-effectiveness;
- size;
- quality of construction materials used to manufacture the panels;
- warranty information;
- expected lifetime output levels;
- and compatibility with any existing hardware or equipment.
Additionally, some models have been rated higher than others due to their efficient wattage outputs and quality performance. It’s important to research before investing in a particular model to pick out the best one for your needs.
Consider talking to a local solar company and different installers if you need more clarification. These professionals will best know what works and doesn’t work in your area and climate.
Are solar panel kits a good choice?
Solar panel kits can be an excellent choice for those looking to install solar panels independently. They typically come with all the necessary materials and instructions for a successful installation, making them an attractive option for budget-conscious DIYers.
However, they may not take into account certain factors, such as climate and location, which
can affect the overall performance of your solar system.
It’s always best to consult with a professional before making any decisions about installing solar panels so that you get the best results possible.
How do I maintain my solar panels?
To ensure your solar panels are working at their fullest potential, you should regularly check for any signs of damage or potential problems.
Check the wires for rust or corrosion and look for loose connections.
Additionally, keep the solar panel surfaces clean from dirt and debris to achieve optimal production levels.
Lastly, periodically checking the inverter is essential to ensure everything is in order.
Regular maintenance can extend the life of your system and maximize its effectiveness over time.
When To Hire A Professional Installer
While some can install their solar energy system themselves, it is vital to be aware of the safety risks and potential complications that may arise. In some scenarios, hiring a professional installer to help with your solar panel installation is a good idea, as they will ensure the job is done correctly and safely.
A professional installer will also be able to answer any questions you may have and provide advice on making the most of your solar panel system.
While the installation costs might be high, you can’t put a price on your peace of mind. After all, this is dealing with your home’s electrical components, which can be a huge safety concern.
Installing your own solar panels is essential for a renewable energy future. It can significantly reduce your energy bill and make the most of your solar power system. With proper research, planning, and installation, you can rest assured that you are making the right decision for your home and the environment.
We hope this guide has helped you understand what it takes to install solar panels in your home. Now it’s time to start planning and making the most of solar energy!
This is just a basic guide. Please consult a professional or do more research before you install solar panels on your home.
Looking for more DIY projects for your home? Here are some DIY flooring options to upgrade your home.
Related Posts


