The Ultimate Kitchen Deep Cleaning Checklist

Kitchens are one of the most-used spaces in our homes. So, it goes without saying that this space can get particularly dirty with grease build-up, dirt, and spills. To keep your kitchen looking clean and fresh, a deep-dive cleaning must take place from time to time.
That’s why we’ve put together this kitchen deep cleaning checklist.
Whether you’re preparing your home for sale or just giving your kitchen a much-needed deep clean, then you’re in the right place. We’ve included information about the different cleaners you will need, how to clean certain materials you might find in a kitchen, and the best order to do everything.
What Is Included In A Kitchen Deep Cleaning?
For the average person, the routine cleaning of our kitchen usually involves wiping down countertops, vacuuming the floors, and maybe cleaning the stovetop. After all, we lead busy lives with work, families, and so on.
But every once in a while, your kitchen needs a much deeper clean than that. This deep clean should include:
- Wiping down cabinets and drawers, inside and out;
- Cleaning the top of your cabinets;
- Washing the windows and window sills;
- Washing doors, walls, and backsplash;
- Dusting light fixtures, wall décor, and any other surfaces;
- Cleaning all appliances, inside and out;
- Polishing all stainless steel surfaces;
- Scrubbing floors (including hardwood floors, tile, vinyl, linoleum, etc.)

How long should it take to deep clean a kitchen?
The time it takes to deep clean a kitchen will vary greatly depending on the size and state of the kitchen.
If your kitchen is already relatively clean and well-kept, a deep-dive clean can take around two hours. On the other hand, if your kitchen needs some serious attention and TLC, it could take up to four hours.
Regardless of how long it takes, the important thing is to make sure you’re doing a thorough job and that everything has been properly cleaned.
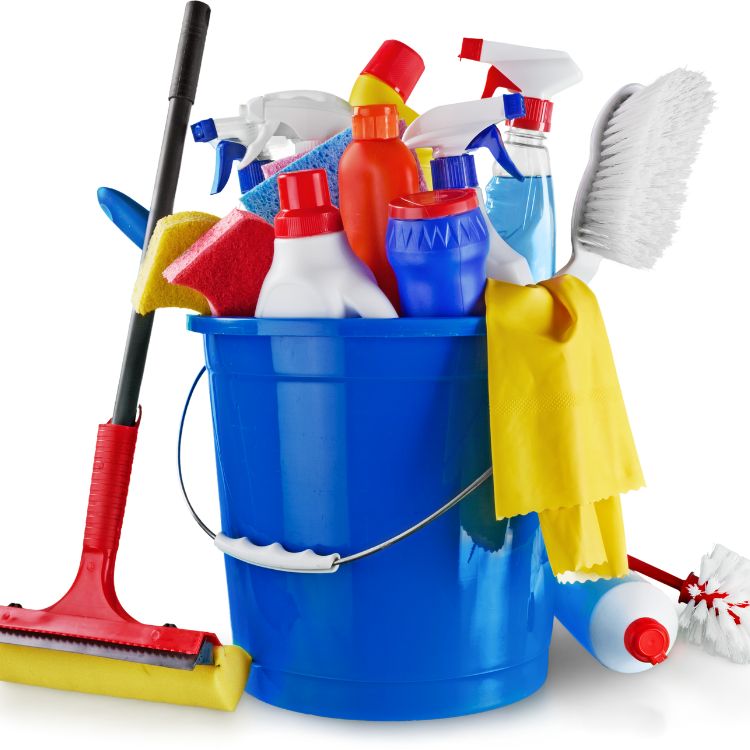
What Supplies Do I Need To Deep Clean My Kitchen?
General Cleaning Supplies
First, you will need some general cleaning supplies that you can use on different surfaces and materials. This includes:
- Bucket
- Rubber Gloves
- Rags
- Microfiber Towels
- Scrub Pads
- Sponges
- Scrub Brush or Toothbrush
- All-Purpose Cleaner
- Disinfectant
- Degreaser (Spray, wipes, or both)
- Glass Cleaner
- Vinegar
- Dish Soap
- Broom & Dustpan
- Vacuum
- Mop (Or Steam Mop)
- Duster
Material Specific Tools
If you have any specific materials in your kitchen, like hardwood or granite, you will also need cleaning supplies that are made specifically for that material. This is to avoid damaging it. Here are some examples.
- Stainless steel (appliances, taps, door knobs, etc.) – a stainless steel cleaner and polish.
- Wood (cabinets and flooring) – a wood-safe cleaner and polish.
- Tile & Grout (floors, backsplash, or countertops) – a tile and grout cleaner.
- Granite (countertops) – a granite cleaner and sealant.
Once you have all your supplies, it’s time to get started!
Putting It All Together and Deep Cleaning Your Kitchen
When deep cleaning a kitchen, it is recommended that you work from top to bottom, starting with the ceiling and walls, then moving on to the cabinets and drawers, appliances, and so on. This is so that you can avoid getting things dirty that you’ve just cleaned.
Step One – Wash The Ceilings, Walls, and Doors
Start by wiping down the ceilings, walls, and doors with an all-purpose cleaner and your rags. If you have any textured walls, you can use a soft brush or toothbrush to get into the grooves and crevices, but be careful not to damage the paint.
Step Two – Clean Light Fixtures, Wall Décor, and Kitchen Accessories
Before you start cleaning your cabinets, it’s a good idea to dust off any light fixtures, wall décor, and kitchen accessories that are on the walls and cabinets. That way the dust isn’t falling onto your freshly cleaned cabinets. This includes spice racks, your knife block, wall art, etc.
You can do this using your duster, but you might find that there is some grease build-up on the surfaces. That is perfectly normal in a kitchen. To get them thoroughly cleaned, you can use a mixture of dish soap, vinegar, and warm water or you can use a premade degreaser along with a rag.
Step Three – Clean Kitchen Cabinets and Drawers
Now it’s time to tackle the cabinets and drawers. Again, we want to work from the top down, so it’s always best to start with the top cabinets. Then you can work your way down toward the floor, making sure you are cleaning the tops, side panels, and doors.
An all-purpose cleaner should do the trick, but if you have wooden cabinets, you may want to use a wood-safe cleaner.
Once the outside is done, make sure you give the inside of each cabinet and drawer a good cleaning as well.
Step Four – Clean The Appliances
Next, you want to clean the appliances inside and out.
Dishwasher
For the inside of the dishwasher, you can use a special dishwasher cleaner or you can use a mixture of baking soda and vinegar. Some dishwashers have a deep cleaning cycle that you can use occasionally as well.
And for the outside, you will need to use a cleaner that works on the material. For example, if it’s stainless steel, you can use a stainless steel cleaner.
Stove, Oven, and Hood Vent
For the inside of the oven, you can use a mixture of baking soda and water to make a paste. Spread the paste over the surface and let it sit for about 10 minutes before wiping it away. If you have a self-cleaning oven, you can use this feature as well.
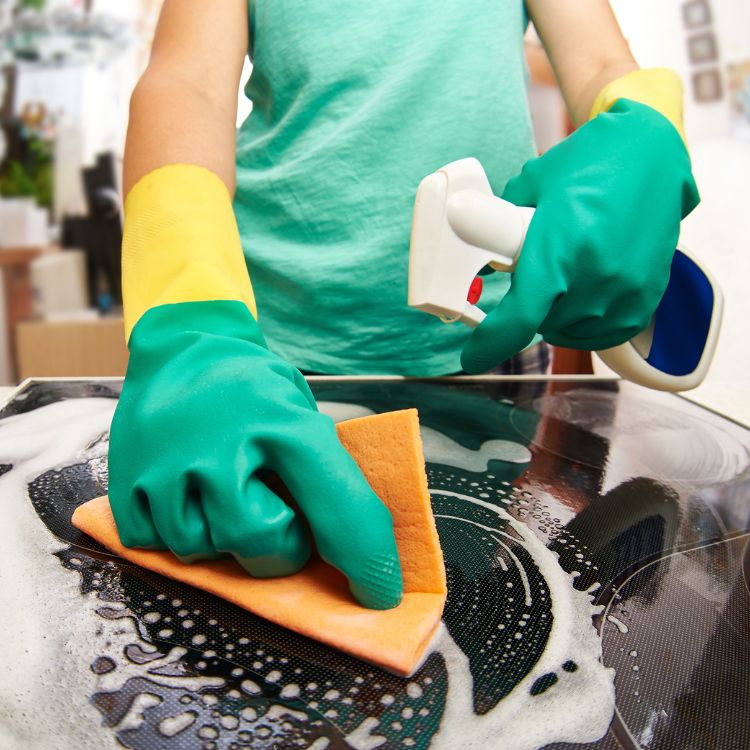
For the stovetop, you should use a cleaner that is specific to the type of stovetop you have. For example, if you have a glass stove top, you should use a cleaner that is safe for this type of surface.
For the hood vent, use a degreaser and warm water to get rid of grease build-up. You can also use a toothbrush or other small brush to get into any hard-to-reach areas.
Then, finish it off by giving the front of the oven a good wipe-down with an all-purpose cleaner or stainless steel cleaner.
Refrigerator
When cleaning the refrigerator, you want to clean the fridge and freezer at the same time. To do this effectively, unplug it, remove the food, and allow the refrigerator to warm up.
While the freezer is defrosting, you can clean all the drawers and shelves with hot soapy water. This can be done at your kitchen sink, or even in your bathtub if you want more room. Make sure to give the shelves a good rinse and either dry them or set them aside to dry.
Once the refrigerator has warmed up, you can start to clean the inside of the fridge and freezer. For this step, you can use a mixture of equal parts water and vinegar to clean the walls. This will help get rid of any lingering odors and dirt.
Once you’ve wiped out the whole thing and allowed it to dry, you can plug it back in. It will take some time for it to cool down again, but once it has, you can put the shelves and food back inside.
For the outside of the refrigerator, use a damp cloth and an all-purpose cleaner to wipe down the front, back, and sides of the fridge. Make sure to get into all of the nooks and crannies.
While doing the deep cleaning of your refrigerator, you can also do a quick maintenance check to make sure everything is working properly.
Microwave
Lastly, you have to clean your microwave. Start by cleaning the interior with a mixture of vinegar and water or you can use your all-purpose cleaner. If the food is stuck to the sides, put a cup of water into the microwave and heat it for 30 seconds to 1 minute. This will produce steam which can loosen any stuck-on messes making it much easier to wipe them away.
Then, finish it off by giving the front of the oven a good wipe-down with an all-purpose cleaner or stainless steel cleaner.
Step Five – Clean Countertops and Backsplash
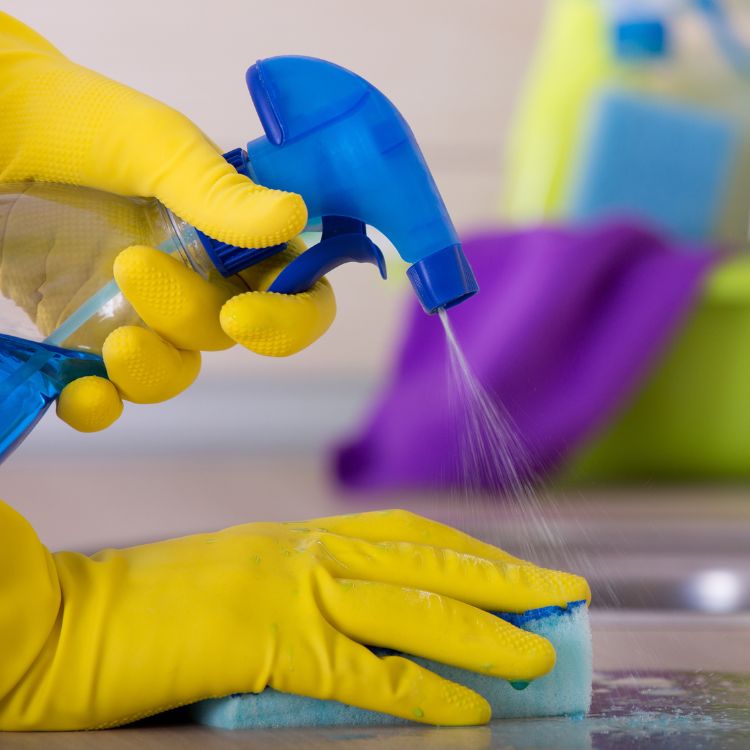
Once your appliances are complete, you can move onto the countertops and backsplash. For laminate countertops, you can use an all-purpose cleaner to wipe them down. For other countertops, such as granite or marble, you need to use a cleaner specific to that type of material to avoid damage.
For the backsplash, you can either use an all-purpose cleaner or a glass cleaner specifically for tile or stone.
And while you’re doing the countertops, this is also a good time to do your kitchen sink. Using a special kitchen sink cleaner, you can quickly clean and disinfect the surface.

Step Six – Cleaning The Floors
Finally, it’s time to tackle the kitchen floors. And while you might be feeling exhausted by this point, you won’t be disappointed with the results of a fully cleaned kitchen. So, don’t skip this last step!
Before you start mopping or even polishing the floor, it’s important to clear away any debris or dirt that’s on the floor. This will make sure your mop doesn’t just spread dirt around. You can do this with a broom and dustpan or a vacuum.
Once the debris is cleaned up, you can move on to mopping the floor.You must use a cleaner that is safe for the type of flooring you have in your kitchen to avoid ruining the material.
Once you’ve cleaned the floor, you can finish it off with a good polish to make it look brand new!
While you might feel overwhelmed by the daunting task of doing a deep clean on your kitchen, following this step-by-step guide should make it easier and more digestible. Just focus on one step at a time, and before you know it, your kitchen will be clean.
Once you’re done, it will be well worth the hard work and time it took. Happy cleaning!


