DIY Laundry Room Countertop

Whether you have a uniquely shaped space, want to save on costs, or enjoy something unique and not so cookie-cutter for your laundry room space, making a DIY laundry room countertop is a great idea.
Are you thinking about adding a DIY countertop to your laundry room? A functional and well-designed laundry room can make your household run smoother, and having a countertop in that space is a big part of that.
DIY laundry room countertops have become a popular trend in recent years. Not only do they add more storage space or a spot to put your laundry baskets, but the countertop can be a great place for soaking clothes with stains or folding freshly clean clothes.
But, adding a custom countertop to your laundry room may not be as simple as you think, as several factors must be considered.
For example, does your washing machine have a front load washer, or do you put the clothes in at the top of the washer? Where do your water lines go? Are there any walls that limit the shape and size of your countertop?
We’ll talk about all of these things in this blog post.
But before we get into that, what carpentry skills do you need to build your DIY laundry room countertop?
Is A DIY Laundry Room Countertop An Easy Project?
To build your DIY laundry room countertop, you’ll need some basic carpentry skills. But, it can be a rewarding project for those willing to put in the effort.
With suitable materials and a little bit of creativity, homeowners can create a functional and stylish countertop that will enhance the overall look and functionality of their laundry room.
Here are some things you can do to make the job as simple as possible.
Plan Ahead
Before you start, you need to plan what kind of countertop you want. Measure the space in your laundry room where you want it to go. You can even draw a simple picture to help you see how it will look.
Gather Your Tools and Materials
You’ll need some different tools and materials, such as:
- your DIY countertop materials;
- screws or nails that work with your countertop material;
- wood screws or drywall screws;
- stud finder;
- measuring tape;
- a table saw;
- drill;
- hammer;
- laser level;
- orbital sander or belt sander (optional);
- paint (optional)
Ask for Help
If you need help understanding something or if a part of the project seems tricky, feel free to ask for help from someone you know who is handy with these kinds of DIY projects.
Take Your Time
Don’t rush. Take your time to measure, cut, and put everything together carefully. It’s like doing a puzzle; you don’t want to force the pieces.
What You Can Use For A DIY Laundry Room Countertop
Now comes the exciting part – choosing a material for your DIY laundry room countertop.
There are several different options, and your head might be swimming with ideas after looking at Pinterest or Home Depot for ideas.
But, rather than just picking one at random, it’s best to do thorough research to choose a material that will fit all your needs.
Here are some popular choices.
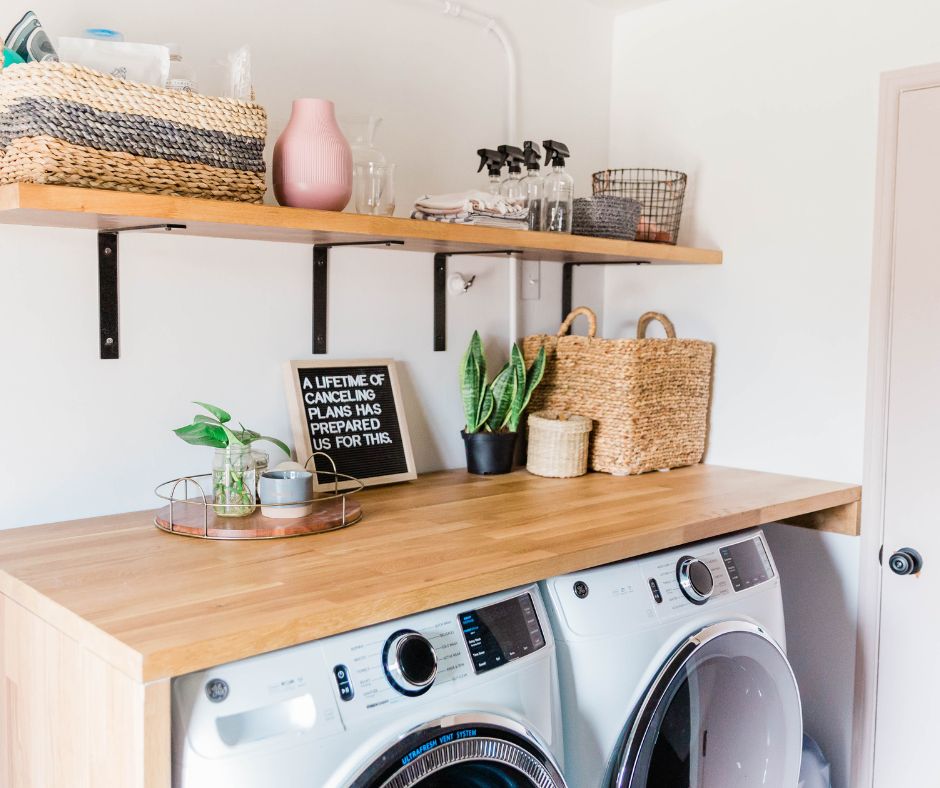
Butcher Block Countertop
A butcher block countertop is like having a big, sturdy wooden table in your laundry room. One great thing about it is that it’s natural and charming, making your laundry space feel cozy.
But, it can be tricky to take care of because it needs regular oiling to look its best. So, if you like a warm and rustic style and don’t mind a little extra care, a butcher block countertop might be perfect for you!
Plywood Countertop
A plywood countertop is like a blank canvas waiting for your creativity! It’s easy to work with and budget-friendly. You can paint it any color or even put a cool pattern on it. However, plywood isn’t as rugged as some other materials, so it might not last as long. If you’re looking for an affordable option that you can personalize, plywood could be a great choice!
Concrete Countertop
Concrete countertops are a durable and low-maintenance option for laundry rooms. They are also resistant to water damage and can withstand heavy use. However, they can be expensive to install and may not be the best choice if you’re on a tight budget.
Laminate Countertop
Laminate countertops are an affordable and easy-to-install option for laundry rooms. They are also resistant to water damage and easy to clean. However, they may not be as durable as other materials and can scratch easily.
Tile Countertop
Tile countertops are a versatile option for laundry rooms because they come in a variety of options, are easy to clean, and are even water resistant. However, installation may be more challenging than some of the other options, so you may require professional help.
How Much Does a DIY Laundry Room Countertop Cost?
When considering a DIY laundry room countertop, one of the first questions that may come to mind is, ‘How much will it cost?’ The answer depends on several factors, including the materials you choose, the size of your countertop, and whether you already have some of the necessary tools and supplies.
- Butcher Block Countertop: A butcher block countertop can range anywhere in price from $50 to $200 or more, depending on the size and type of wood you select.
- Plywood Countertop: Plywood is one of the most budget-friendly options, typically ranging from $20 to $50 for a standard laundry room-size countertop.
- Concrete Countertop: Concrete countertops may cost between $75 and $150 per square foot, including materials and installation. They can be more expensive due to the specialized skills required for working with concrete.
- Laminate Countertop: Laminate is an affordable choice, with prices starting at around $20 to $50 per square foot.
- Tile Countertop: Tile countertops can vary widely in cost, depending on the type of tile you choose, but a bare ceramic tile countertop might start at $10 to $30 per square foot.
Remember that these are approximate cost ranges and can fluctuate depending on your specific choices and any additional features you want to include, such as sinks or decorative edges.
Planning and Designing Your DIY Countertop
In addition to choosing the best materials, you’ll want to be mindful of your design and how your material will work with the design.
Here are a few key factors to consider to ensure you get the possible outcome.
Type Of Laundry Machines
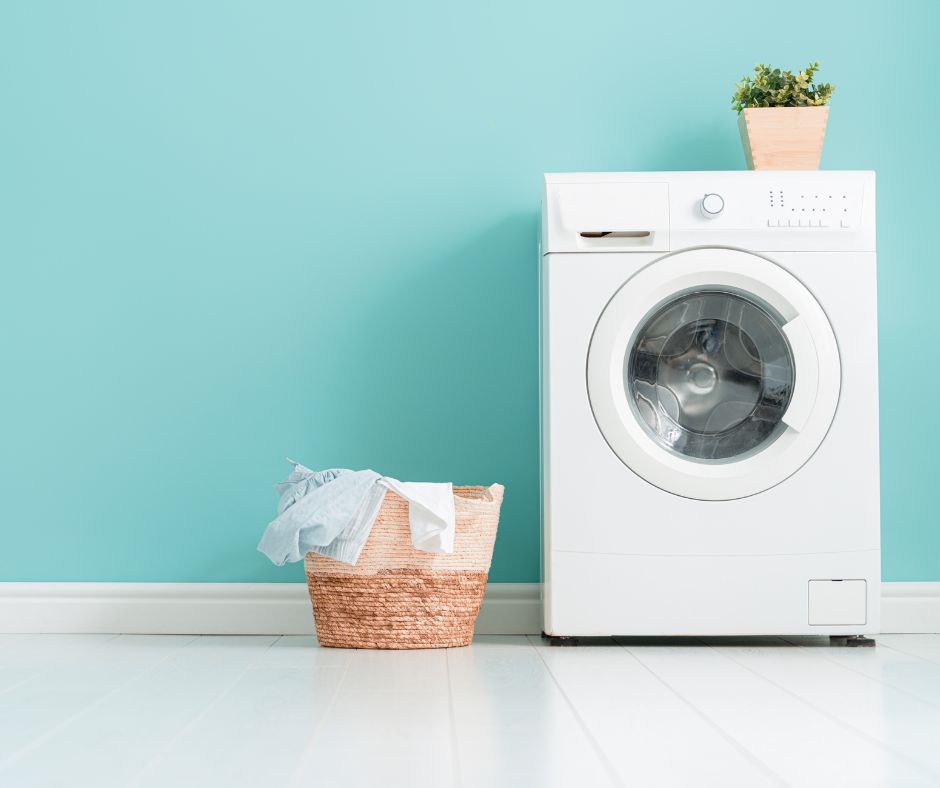
This might seem like a no-brainer, but it’s easy to miss. You have to ensure the design of your countertop is conducive to the type of washing machine you have.
For example, front loaders can have a countertop right above it because you don’t need access from the top. However, if you have a top-load washer, you’ll need to build the counter differently to have easy access to the machine. This can include building the counter up higher, adding a piece to the countertop that slides in and out as needed, having a dropdown countertop or removable countertop, and so on.
To find more ideas of what you can do for a countertop when you have a washing machine that loads from the top, look on places like Instagram or Pinterest.
Weight Of The Countertop
If you want a heavy material for your countertop, such as a DIY wood countertop or a concrete countertop, you’ll want to choose a design that aligns well with wall studs for additional support or have a plan to add other supports.
Size And Shape Of Your Counter Space
If you want a countertop that is a perfect fit in your laundry room, you’ll need to take accurate measurements of the space.
Laundry Sink
If you want to include a laundry sink, you’ll also want to factor this in when planning and designing your DIY laundry countertop.
As you can see, there are several things to consider. The good news is that considering these factors and the type of materials you want to use will make this DIY project easy.
How To Make A DIY Laundry Room Countertop
Step One – Prepare the Work Area
The first thing you need to do is prepare the work area. This includes removing all the items from the laundry room and cleaning the area thoroughly.
Doing this might seem tedious, but having a clear work area will make this project much more effortless and prevent any damage to the materials.
Step Two – Cut The Materials
You’ll need to cut the material to begin building the DIY laundry room countertop. If you need help with how to cut your chosen material, look to see if there are any video tutorials you can follow on YouTube or ask someone you know for help.
Step Three – Assemble the Pieces
Once your materials have been cut to size, the next step is to assemble the pieces. Now, the steps to do this will vary greatly depending on the type of materials you’re using and the design of your countertop.
For example, if you’re doing a dropdown countertop, you’ll want to install a support structure along the back wall and potentially side support that can be moved in and out as needed.
Alternatively, if you’re doing a basic countertop that doesn’t move and sits in place, you’ll want to use a stud finder so that you can find the studs to anchor your countertop.
Step Four – Sealing The Edges
If you can seal the edges of your countertop, this is a good idea. Not only will it help to prevent moisture from seeping in and causing damage, but it will also help keep dirt and debris out of the crevices.
To do this:
- Apply a thin, even bead of silicone caulking, and then make a smooth, even line out of it using a caulk smoothing tool or your finger.
- Give the caulking ample time to dry before using the countertop.
Step Five- Applying the Finish
The final step in building the DIY laundry room countertop is to apply the finish. This can be done with various methods, including painting, staining, or sealing.
If painting or staining, it’s crucial to ensure the surface is clean and free of dust or debris. Apply the paint or stain using a brush or roller, following the manufacturer’s instructions for drying time and number of coats.
If sealing, apply a coat of sealer to the surface using a brush or roller, thoroughly covering the edges and corners.
By following these simple steps, you can install a DIY laundry room countertop that is both functional and attractive.
How To Maintain A DIY Laundry Room Countertop
Congratulations on successfully building your DIY laundry room countertop! Now that it’s in place and looking fantastic, it’s important to know how to take care of it so that it stays beautiful and functional for years to come. Here are some simple maintenance tips:
1. Regular Cleaning: The first step to keeping your DIY countertop looking new, clean it regularly with a mild soap and water solution. And, if you can, try not to use abrasive cleaners or scouring pads since they can scratch the surface. Wipe up spills promptly to prevent staining.
2. Oiling (for Wooden Countertops): If you opted for a butcher block or wooden countertop, it’s essential to apply a food-safe mineral oil or countertop oil periodically. This helps to maintain the wood’s natural beauty and protect it from moisture. Follow the manufacturer’s recommendations for oiling frequency.
3. Sealing (if applicable): If you choose a countertop material that requires sealing, such as concrete or stone, make sure to reseal it according to the manufacturer’s instructions. Sealing helps to prevent stains and moisture damage.
4. Avoid Excessive Heat: Be cautious with hot pots, pans, or appliances like clothes irons. Using trivets or heat-resistant pads can protect your countertop from heat damage.
5. Prevent Scratches: Use cutting boards when chopping or slicing to prevent scratches on the countertop surface. Also, consider placing soft pads or felt underneath small appliances to avoid scratches when moving them around.
6. Repair Minor Damage: If your countertop gets scratched or dented, you can often repair minor damage with the appropriate touch-up products. Follow the manufacturer’s guidelines for repairs.
7. Regular Inspections: Periodically inspect your countertop for any signs of wear or damage. Please address any issues promptly to prevent them from getting worse.
8. Be Mindful of Chemicals: To avoid potential damage to your brand new countertop, try and avoid having harsh chemicals stored there or for cleaning. Instead, stick to gentle, non-abrasive cleaning solutions.
9. Use Cutting Mats: When preparing food or doing any activities that involve cutting, always use cutting mats or boards. This protects your countertop from knife marks and potential damage.
10. Follow Manufacturer’s Instructions: If your countertop is made of a specific material, follow any care and maintenance guidelines the manufacturer provides. These instructions are tailored to the particular needs of the material.
By following these maintenance tips and staying attentive to the needs of your DIY laundry room countertop, you can enjoy its beauty and functionality for years to come. Regular care and upkeep will help preserve your hard work and keep your laundry room looking great!
Check out these DIY Window tips!
Related Posts


