Ceiling Fan Makeover–The Best-Kept Home Improvement Secret!
")
Check out our guide to the ceiling fan makeover – Turn that tired old fan into a fashionable centerpiece of your decor on a budget!
Ceiling fans are often overlooked when it comes to home decor. They’re functional, sure, but they don’t always add to the aesthetic appeal of a room. If you’re tired of looking at your old, outdated ceiling fan, why not give it a makeover? With just a few simple changes, you can transform your old fan into a stylish fixture that adds charm to any room in your home.
First Things First: Preparing for the Makeover
Before you dive into the makeover process, it’s important to gather all the necessary supplies. You’ll need spray paint in your desired color, contact paper, drop cloths to protect your floors, and possibly a new light fixture if you want to upgrade that as well. Additionally, make sure to have any tools you might need to disassemble the fan, such as screwdrivers and pliers.
Some Ideas to Inspire your Creativity…
When it comes to giving your ceiling fan a makeover, don’t limit yourself to a simple coat of paint. Get creative and make the paint job interesting by incorporating different techniques such as stripes, alternating colors on different blades, and more. Here are some ideas to help you make your ceiling fan truly stand out:
1. Stripes: One of the easiest ways to add visual interest to your ceiling fan is by painting stripes on the blades. You can create horizontal, vertical, or diagonal stripes depending on your preference. Use painter’s tape to mask off sections of the blades before painting to ensure clean, crisp lines. Experiment with different widths and colors to achieve the desired look.
2. Alternating Colors: Instead of painting all the blades the same color, consider alternating colors for a fun and dynamic look. You could paint every other blade a different color, or create a pattern with multiple colors. This technique adds visual interest and can help tie in other elements of your room’s decor.
3. Ombre Effect: Create a stunning ombre effect by painting the blades in graduating shades of the same color. Start with the lightest shade at the base of the blade and gradually darken the color as you move towards the tip. Blend the colors together for a seamless transition between shades. This technique adds depth and dimension to your ceiling fan and can create a dramatic focal point in the room.
4. Stencils: Use stencils to add intricate designs or patterns to the blades of your ceiling fan. You can find a wide variety of stencil designs at your local craft store or create your own custom stencil using a cutting machine. Stencil on a single design or repeat the pattern across all the blades for a cohesive look. This is a great way to personalize your ceiling fan and add a unique touch to your decor.
5. Faux Finish: Experiment with different faux finish techniques such as wood grain or metallic finishes to give your ceiling fan a luxurious look. Use specialty paints and textured rollers to achieve the desired effect. A faux finish can mimic the look of expensive materials like wood or metal at a fraction of the cost. Plus, it adds texture and visual interest to your ceiling fan.
6. Geometric Patterns: Get creative with geometric patterns by painting triangles, chevrons, or other shapes on the blades of your ceiling fan. You can use painter’s tape to mask off the areas you want to paint or freehand the design for a more organic look. Mix and match different colors and shapes to create a bold statement piece that reflects your personal style.
By incorporating these creative paint techniques, you can transform your ordinary ceiling fan into a one-of-a-kind masterpiece that adds personality and charm to any room in your home. So don’t be afraid to think outside the box and experiment with different colors, patterns, and textures to make your ceiling fan truly stand out.
Ceiling Fan Makeover Step by Step
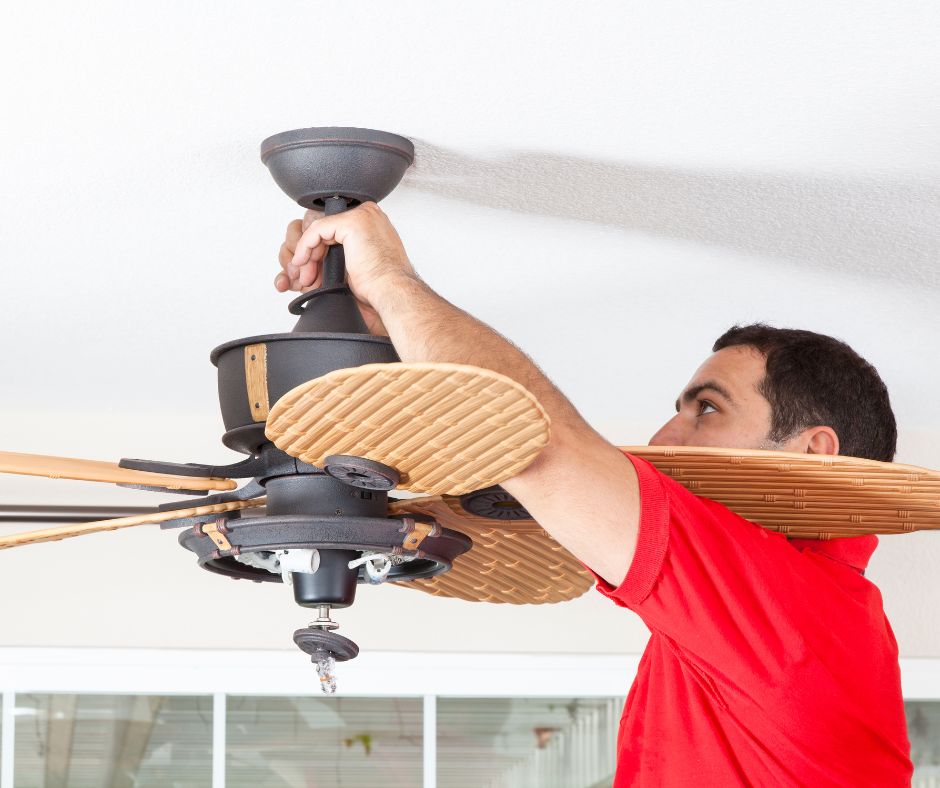
Step 1: Disassemble the Fan
The first step in giving your ceiling fan a makeover is to disassemble it. Start by turning off the power to the fan at the circuit breaker and removing the light bulbs and shades. Then, carefully unscrew and remove the fan blades, blade arms, motor cover, and any other fan parts.
Step 2: Prep for Painting
Once the fan is disassembled, it’s time to prepare for painting. Lay out your drop cloths in a well-ventilated area and place all the fan parts on top. Use a piece of cardboard to protect any electrical parts, such as the bulb socket and motor, from overspray.
Step 3: Spray Painting
Now comes the fun part – spray painting! Apply light coats of spray paint to each fan part, making sure to cover them evenly. It’s better to apply several light coats than one heavy coat to avoid drips and streaks. Let each coat dry completely before applying the next one.
Step 4: Update the Light Fixture (Optional)
While the fan parts are drying, you can also update the light fixture if you choose. Consider replacing old glass shades with new ones or adding decorative contact paper to the middle of the shades for a custom look. This simple change can make a big difference in the overall appearance of your fan.
Step 5: Reassemble the Fan
Once the paint is dry and any additional updates have been made to the light fixture, it’s time to reassemble the fan. Carefully put all the fan parts back together, making sure everything is securely in place. Don’t forget to reattach the fan blades and blade arms in the correct position.
Step 6: Final Touches
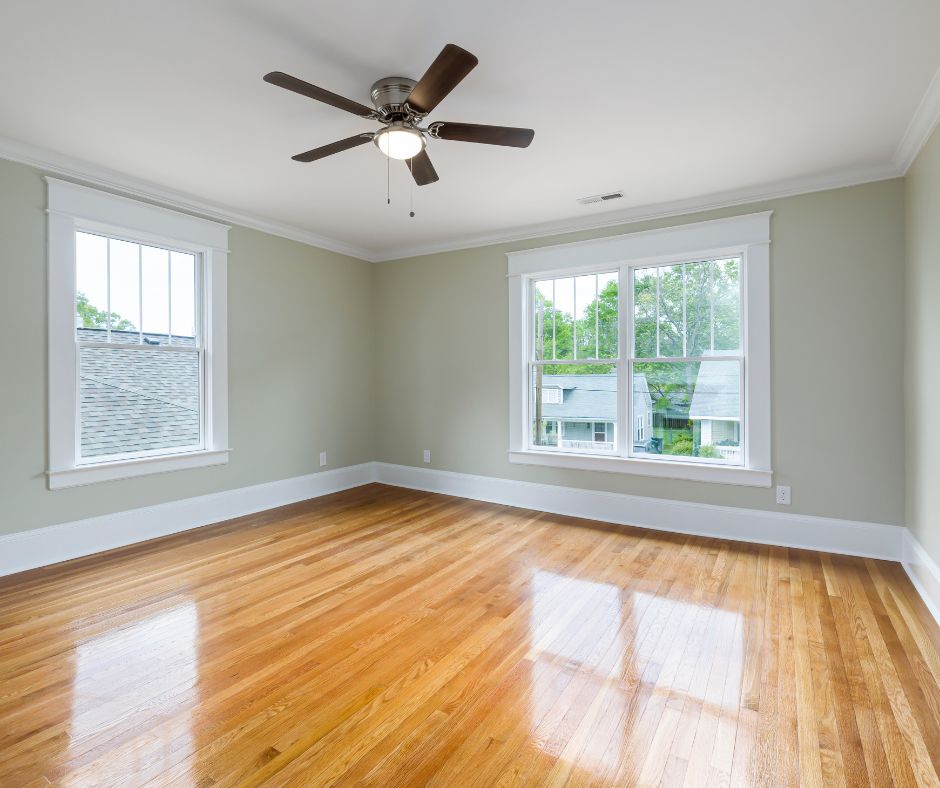
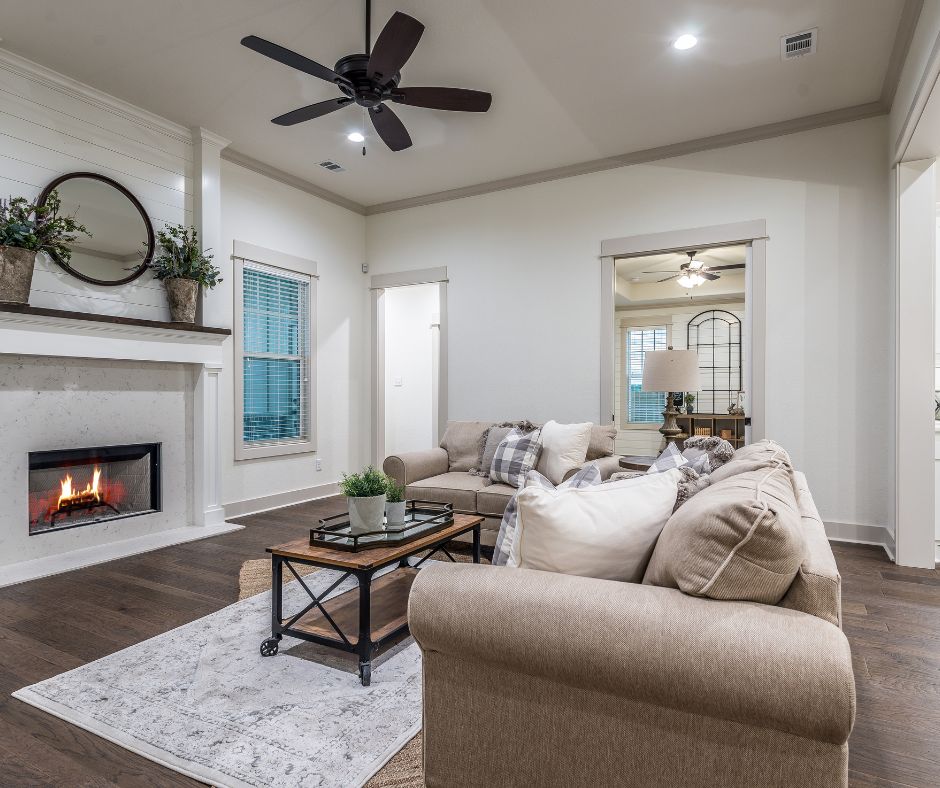
With the fan reassembled, the last step is to reinstall it in your living room, dining room, or whichever room you’re giving a makeover. Reattach any pull chains and light bulbs, and turn the power back on at the circuit breaker. Step back and admire your handiwork – you’ve just given your old ceiling fan a whole new lease on life!
How Else Can I do a Ceiling Fan Makeover??
There are numerous ways to makeover a ceiling fan beyond just painting it! Here are some creative ideas to consider:
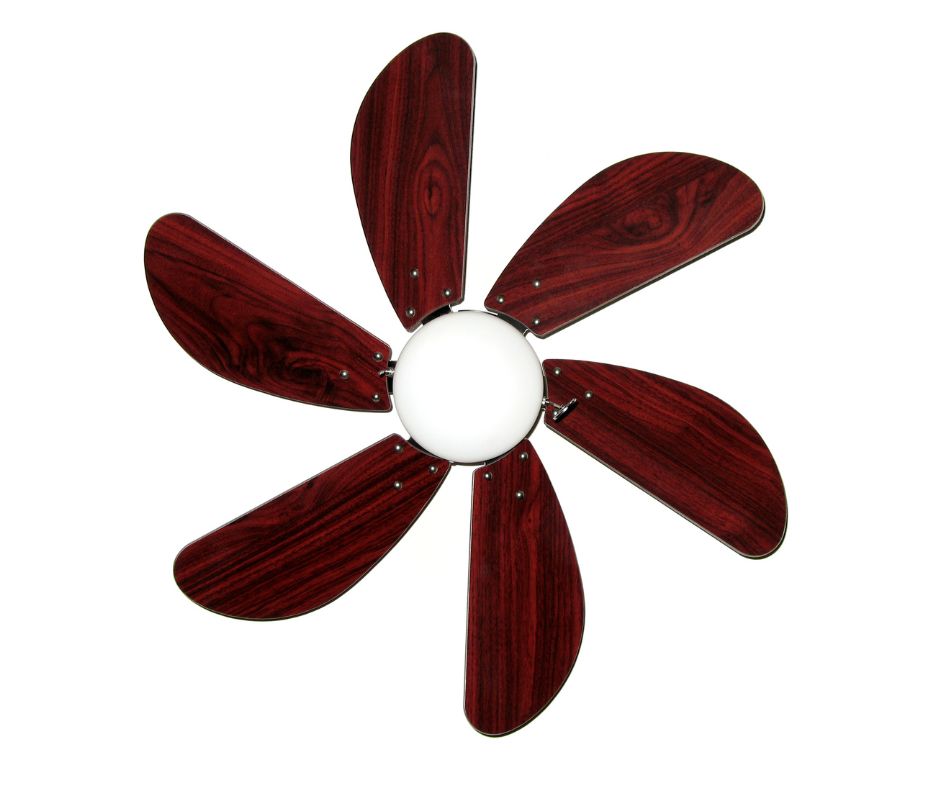
1. Replace the Blades: If your ceiling fan has old or outdated blades, consider replacing them with new ones. Opt for blades in a different material, such as wood or metal, or choose blades with a unique shape or design to give your fan a fresh new look.
2. Add Decorative Accents: Enhance the appearance of your ceiling fan by adding decorative accents such as medallions, trim, or decals. These small details can instantly elevate the look of your fan and complement your existing decor.
3. Upgrade the Light Fixture: Instead of just updating the fan blades, consider upgrading the entire light fixture. Replace the existing light kit with a new one that better suits your style, whether it’s a sleek modern design or a vintage-inspired chandelier.

4. Change the Pull Chains: Replace the standard pull chains on your ceiling fan with decorative ones to add a personal touch. Choose from a variety of styles, colors, and materials, such as crystal, glass, or metal, to match your decor and enhance the overall look of your fan.
5. Install a Remote Control: Upgrade your ceiling fan with a remote control kit for added convenience and functionality. Not only will a remote control make it easier to adjust the fan speed and lighting, but it can also eliminate the need for unsightly pull chains, giving your fan a sleeker appearance.
6. Incorporate Fabric: Use fabric to add a pop of color or pattern to your ceiling fan. You can create custom fan blade covers using fabric and adhesive or opt for a fabric ceiling fan skirt that hangs from the base of the fan to conceal the blades when not in use.
7. Install Decorative Pull Chain Extenders: Enhance the look of your ceiling fan’s pull chains with decorative extenders. These accessories come in a variety of styles, from vintage-inspired designs to contemporary shapes, and can add a touch of elegance to your fan while making it easier to operate.
8. Upgrade to Energy-Efficient Bulbs: Improve the functionality of your ceiling fan by upgrading to energy-efficient LED bulbs. Not only will this reduce your energy consumption and save you money on your utility bills, but it will also enhance the overall lighting quality of your space.
These are just a few ideas to help you give your ceiling fan a makeover beyond simply painting it. Whether you choose to replace the blades, upgrade the light fixture, or add decorative accents, there are plenty of ways to transform your ceiling fan into a stylish focal point that complements your decor.
Share Your DIY Success!
If you’re proud of your ceiling fan makeover (and you should be!), don’t hesitate to share it on social media. You never know – your before-and-after photos might inspire someone else to give their own ugly ceiling fan a makeover. Plus, if you include affiliate links to the products you used in your makeover, you could earn a small commission if someone makes a purchase through your link.
Giving an old ceiling fan a makeover might seem like a lot of work, but it’s a simple change that can make a big impact on the look and feel of a room. So why not give it a try? Who knows – you might just end up with the coolest fan in town!
Related Posts


