What To Do When Your Bathroom Sink Is Leaking From Underneath

Are you dealing with a bathroom sink that is leaking underneath? If you are, then you’ve come to the right place.
Dealing with a bathroom sink leaking underneath can be frustrating, but it’s a common issue many homeowners face. Since your sink is used frequently, wear and tear are inevitable, which may result in necessary repairs.
In this article, we’ll show you how to identify and fix some of the most common reasons for sink leaks, so you can prevent further damage and make repairs quickly and efficiently.
What To Do When Your Bathroom Sink Is Leaking From Underneath
Is It Bad That My Bathroom Sink Is Leaking From Underneath?
As homeowners, one of the most concerning things to deal with is water leaks. If left unfixed, they can lead to unwanted water damage and significant problems in your home.
When your sink leaks from underneath, the water can seep into the bathroom cabinet, dampening it. This could lead to issues with mildew or mold.
If you notice a leak coming from underneath your sink, it’s crucial to take action immediately to prevent any additional damage and repair expenses.
Signs Of A Leak Underneath Your Sink
The easiest and most frequently used method to detect a sink leak is looking for water puddles under the sink. If you find any; it’s important to clean them up immediately and locate the source of the leak.
Another common sign is water stains on the cabinet, or worse, in the ceiling below your sink. (Only applicable in multiple-story homes.) If you find a water stain, it is important to determine where the leak is coming from.
If you’ve noticed a significant change in water pressure from your taps, this might indicate that something is wrong with your supply line.
If the leak from your sink is more serious, you might even find water on your bathroom floor. In this case, get the water supply turned off immediately to stop the leak. Then find the source of the leak so you can make the necessary repairs.
Pay close attention to your bathroom sink and the plumbing components underneath regularly to ensure no leaks or to catch them quickly when they arise.
Understanding How Sinks Are Set Up
Before looking for the leak’s source, it is essential to understand how the plumbing system underneath your bathroom sink works. This will help you pinpoint the cause of the water leak and understand the steps you need to take to fix it.
Typically, sinks will come with three main components: the water supply line to the faucet, the drain, and the p-trap.
- The water supply line carries clean water to your sink.
- The drain is connected to a pipe that carries wastewater away from your sink.
- And finally, the p-trap is a curved pipe underneath your sink that prevents sewer gasses from entering your home.
Finding The Source Of The Leak
Here are some common issues that can cause leaks underneath your sink.
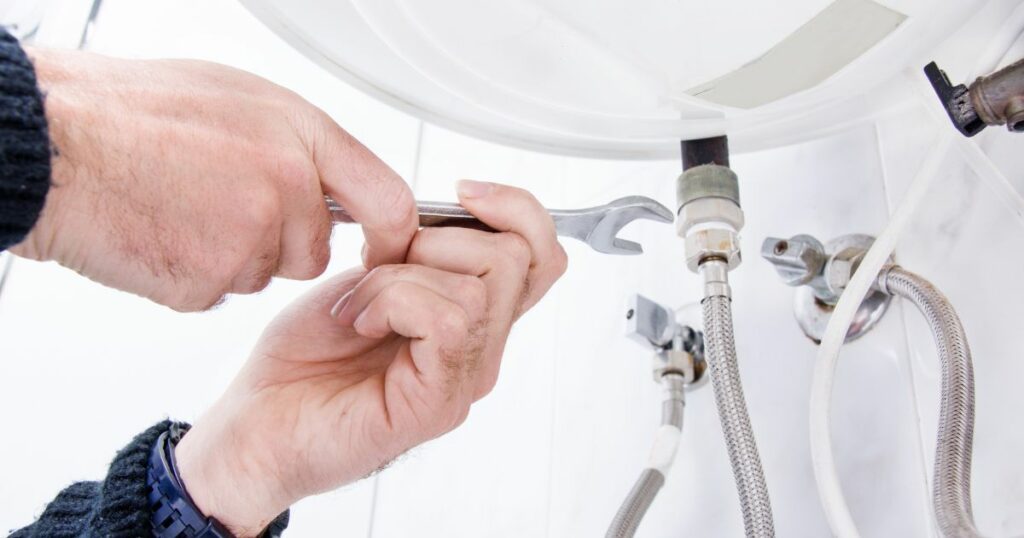
Leak From The Water Supply Line
One possible culprit could be a leaky water line. This happens when one of the flexible supply lines connecting the faucet to the valves becomes loose or develops a crack over time.
If you suspect this is the source of your leak, you’ll need to find where the supply lines are connected and inspect them for any signs of wear or damage.
Leak From The Drain, P-Trap, or Drainage Pipe
If the leak is only happening when you run your sink, the issue could be with your drain, p-trap, or drainage pipe, which is the section of pipe after the p-trap. This can be a result of loose connections, damage, etc.
To detect any issues, turn on the water and examine underneath the sink for any signs of leaks. Also, inspect the entire drain system for any signs of corrosion or damage.
If you cannot visibly see where the leak is coming from underneath your sink, it is possible that the leak is coming from the pipes inside the wall. In this case, it is recommended that you turn off the water supply to prevent more damage and call in a professional plumber to do the investigation and repairs.
How To Repair Leaks
Once you’ve identified the type of leak, you’ll need to make the necessary repairs. Here are the best steps to get the job done quickly and efficiently.
Step One – Shut Off The Water Supply
Depending on the severity of the leak, you should shut off the water supply. Doing this will prevent further damage until you can make the repair.
If the leak is not severe and only arises when the water is turned on, then you can wait to turn off the water until you do the repair. But it is recommended to put something underneath that can catch any leaking water when the sink is turned on.
In some homes, you will find a shut off valve underneath your sink. But if there isn’t, you will need to shut off the main water supply for your entire home.
Step Two – Research How To Make The Repair
Next you will need to research how to repair the issue. This is important, especially if you’ve never done this repair before.
You can find numerous plumbing experts on YouTube who offer detailed, step-by-step instructions on how to perform various plumbing repairs.
Prior to conducting any research, it’s important to take note of how your plumbing system is configured. Determine whether certain parts are glued together or connected with threaded couplings. Gathering as much information as possible beforehand will enable you to make your repairs more efficiently.
Step Three – Get Your Supplies Together
Once you have a general idea of what to do, get everything you will need together, including tools and replacement parts. You can get anything you need to do the repair from your local hardware store.
It’s also a good idea to have paper towels or bath towels nearby that you can use to clean up any mess that occurs while you’re completing your repair.
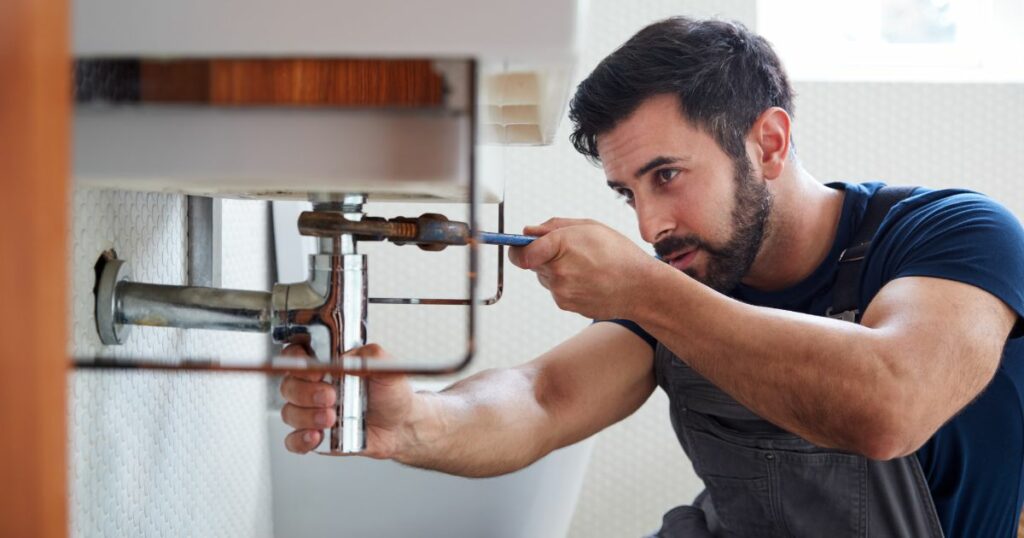
Step Four – Make The Repair
Now it’s time to do the plumbing repair. Follow all the steps thoroughly before turning the water supply back on.
Step Five – Test The Repair
Finally, it’s important to test your repair to ensure that any additional issues are addressed while you’re there.
Start by turning the water supply back on and check for any leaks. Then, turn on the taps and check for any leaks again.
If there are no visible leaks present, then your repair was successful.
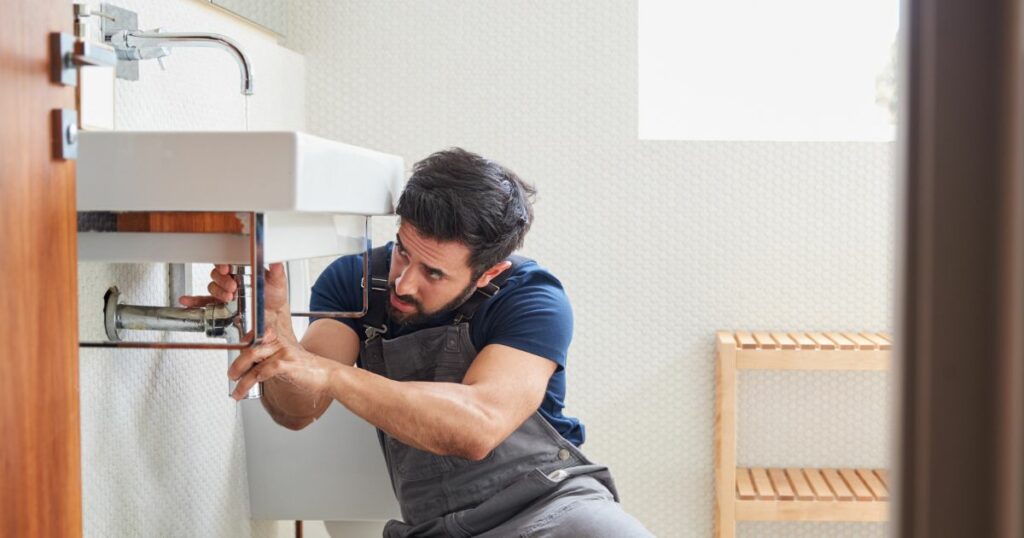
When To Call In A Professional Plumber
While you can do simple repairs yourself if you want to, there are some cases where it’s best to call in one of your local plumbers. One of the examples mentioned above is if the water leak is coming from a pipe inside your walls.
Hiring a professional plumber guarantees that the repair is executed safely and accurately, as they possess the required expertise and equipment.
Are Bathroom Sink Repairs Covered Under a Home Warranty?
If your bathroom sink is leaking and you don’t want to repair it yourself, you might wonder how else you can save money on the repairs.
A home warranty might just be what you’re looking for!
With a home warranty, many plumbing repairs are covered. This can save you money whenever you experience a leak underneath your sink.
To get all the details of what is covered under our home warranty and how it works, check out our brochure which details everything.
Related Posts


