How to Remove Mold from Tile Grout
")
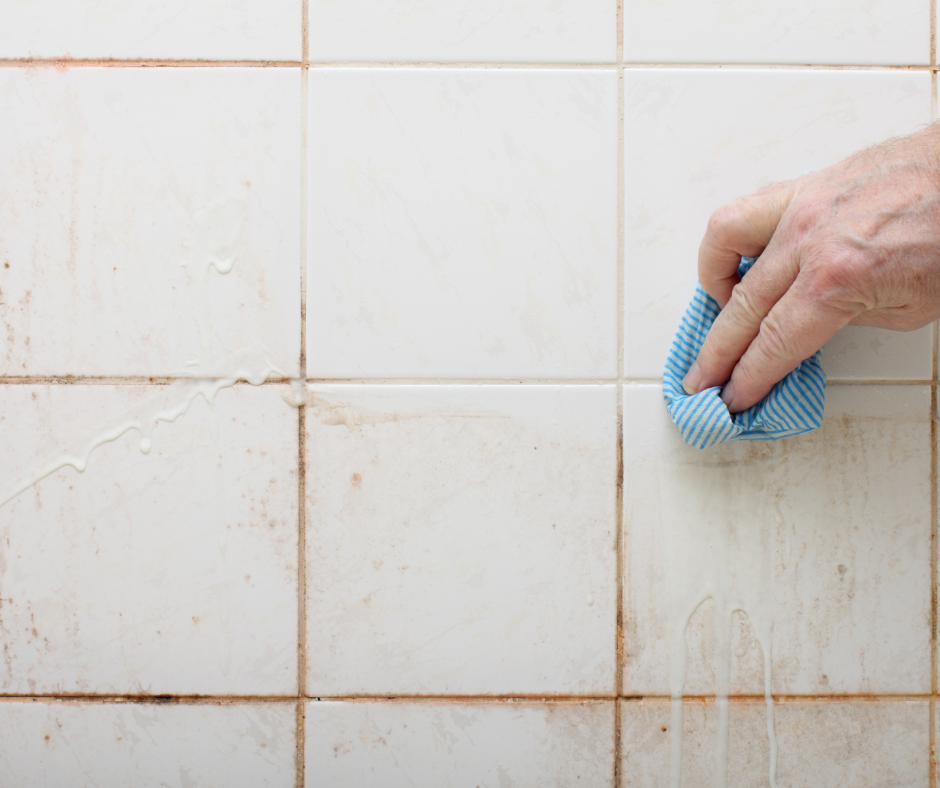
Moldy grout can turn a clean, beautiful bathroom into an unsightly and unhealthy space. Whether it’s the shower grout, bathroom walls, or shower tiles, mold growth—especially black mold—thrives in damp, enclosed environments. The affected area often starts small but quickly becomes a significant mold problem if ignored.
Removing moldy tile grout is essential not just for aesthetics but for health. Mold, particularly Stachybotrys chartarum (also known as black mould), can cause respiratory issues, skin irritation, and other serious health risks, especially for those with weakened immune systems. The good thing is, with the right tools, natural products, and some elbow grease, you can clean grout effectively and safely.
First Step: Identify the Mold and Assess the Damage
Before applying any cleaning solutions, locate all the affected areas of grout. Mold often hides in grout lines, especially in small bathrooms or spaces with inadequate ventilation. Common types of mold range in color from black and green to pink or orange.
The best way to reduce mold growth in the long term is to understand what caused it. Poor air circulation, excess moisture, and soap scum create the ideal breeding ground for mold in the shower area.
Safety Precautions Before You Begin
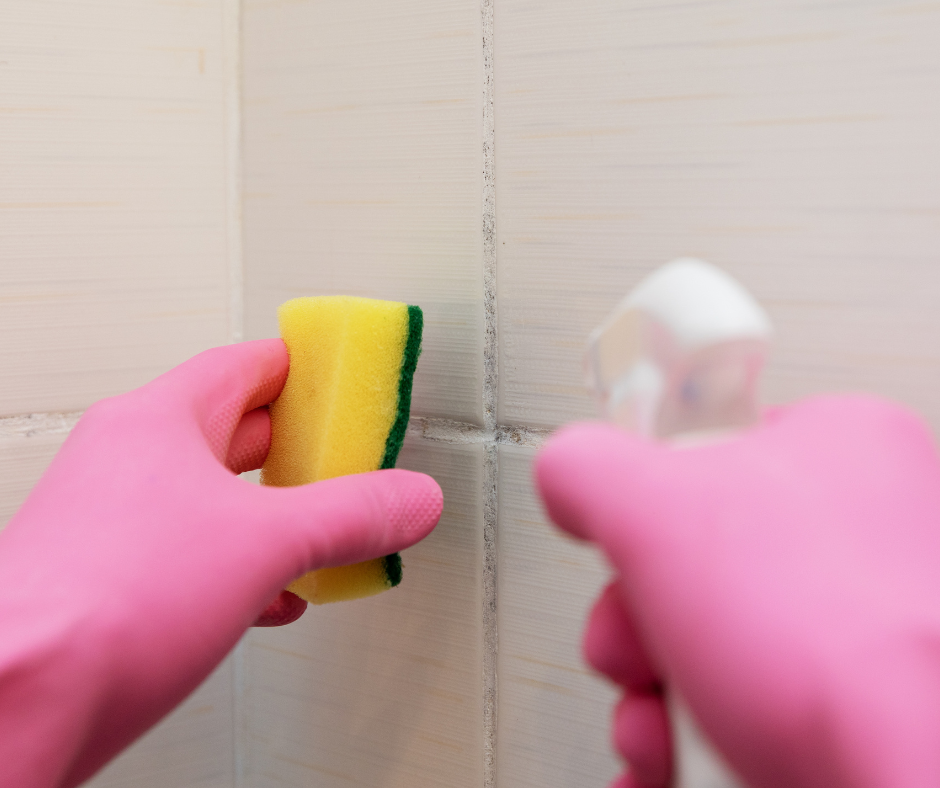
Before tackling moldy grout, take safety precautions seriously. Wear rubber gloves, a mask (to prevent inhalation), and open windows or turn on exhaust fans to ensure a well-ventilated area. Never mix chlorine bleach with undiluted white vinegar or other natural cleaning agents, which creates toxic bleach fumes.
The Best Options to Clean Mold from Tile Grout
1. Natural Way: Vinegar and Baking Soda
For those avoiding harsh chemicals, a natural way to clean mold is with natural products like baking soda paste and undiluted white vinegar. Here’s how:
- Mix baking soda with a little warm water until it forms a paste.
- Apply the paste to the black or white grout using an old toothbrush.
- Spray undiluted white vinegar from a spray bottle over the paste.
- Let it fizz and sit for 5–10 minutes.
- Scrub with a stiff bristle brush and wipe clean with a damp cloth or clean cloth.
This method is a great way to tackle mild to moderate mold issues and is safe for small bathroom designs and traditional bathrooms.
2. Use of Hydrogen Peroxide
Hydrogen peroxide is an effective solution for persistent mold. Apply 3% hydrogen peroxide to the affected area, let it sit for 10 minutes, and scrub thoroughly. This method is perfect for moldy grout with deep stains.
3. Chlorine Bleach for Stubborn Mold
If natural cleaning agents don’t do the trick, the best thing for stubborn mold might be a diluted part bleach solution:
- Mix 1 part chlorine bleach with 10 parts of water.
- Apply the moldy tile grout with a spray bottle.
- Let it sit for 5–15 minutes.
- Scrub with a scrub brush or an old toothbrush.
- Rinse with warm water and dry with kitchen roll or a clean cloth.
This may be the only way to handle mold problems in large or long-neglected shower areas, but it’s crucial to use bleach in moderation and with proper safety precautions to avoid health concerns.

Preventing Future Mold Growth
Eliminating mold once is not enough—regular cleaning and prevention are key. Here are the best practices:
- Dry shower curtains, shower door, and shower tiles after each use.
- Wipe away excess water from grout lines.
- Install exhaust fans or open windows to improve air circulation.
- Avoid excess moisture in smaller bathrooms by using a dehumidifier.
- Use grout paint with anti-mold properties to seal cleaned areas.
- Switch to natural products for regular cleaning to prevent chemical buildup.
Why Mold Returns—and How to Stop It
If you notice recurring mold in the same areas of grout, it might be a sign of inadequate ventilation, hard water, or even a leak behind the bathroom tiles. Consider consulting a service agent to inspect your plumbing or tile seals.
Using drip irrigation for indoor plants, keeping organic matter like hair and soap out of drains, and maintaining good ventilation are all part of a mold prevention routine. The mold growth often indicates a deeper issue—taking the time to investigate is a good idea.
Extra Tips for Best Results
- Always test a small, affected area before applying a cleaner to the entire shower area.
- Use grout paint for aesthetic appeal and protection.
- A time-consuming task like this pays off in the long run with better indoor air quality and cleaner-looking bathrooms.
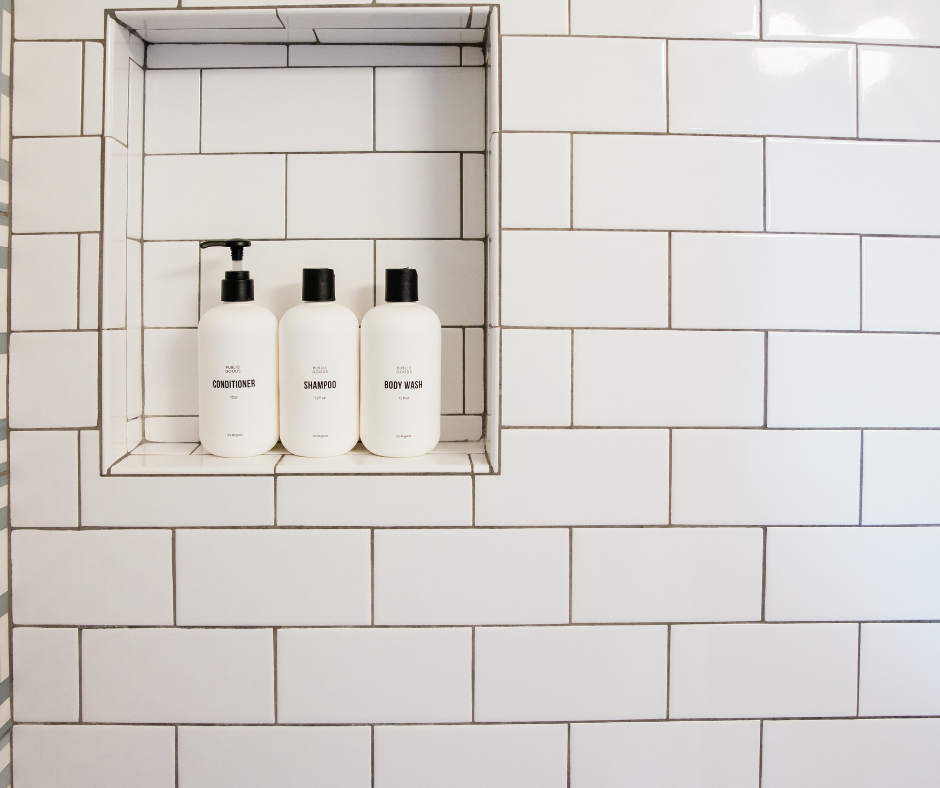
- In modern bathroom designs, where minimalism is key, clean tile and mold-free grout enhance the overall look and cleanliness.
- Don’t forget the shower door tracks—another common mold issue area.
Moldy grout doesn’t have to ruin your bathroom. By using a mix of natural cleaning agents, smart habits, and periodic deep cleans, you can eliminate mold and prevent it from returning. Whether you have a small bathroom or a modern bathroom design, maintaining clean grout improves not just the appearance but also the hygiene of your space.
With plenty of time, the best way to keep mold away is regular deep cleaning, ensuring good ventilation, and using the best option for your specific situation—whether that’s vinegar, hydrogen peroxide, or chlorine bleach. Choose the best results approach that fits your home, and you’ll be rewarded with a clean, healthy bathroom environment all year long.
HomeMembership can help cover home repairs. If you are looking for the best home warranty – you will love HomeMembership.
Related Posts


