How to Fix a Bad Concrete Finish Job

Is your pavement cracked and crumbling? It may have been a poor finish job! Here is how to fix a bad concrete finish job.
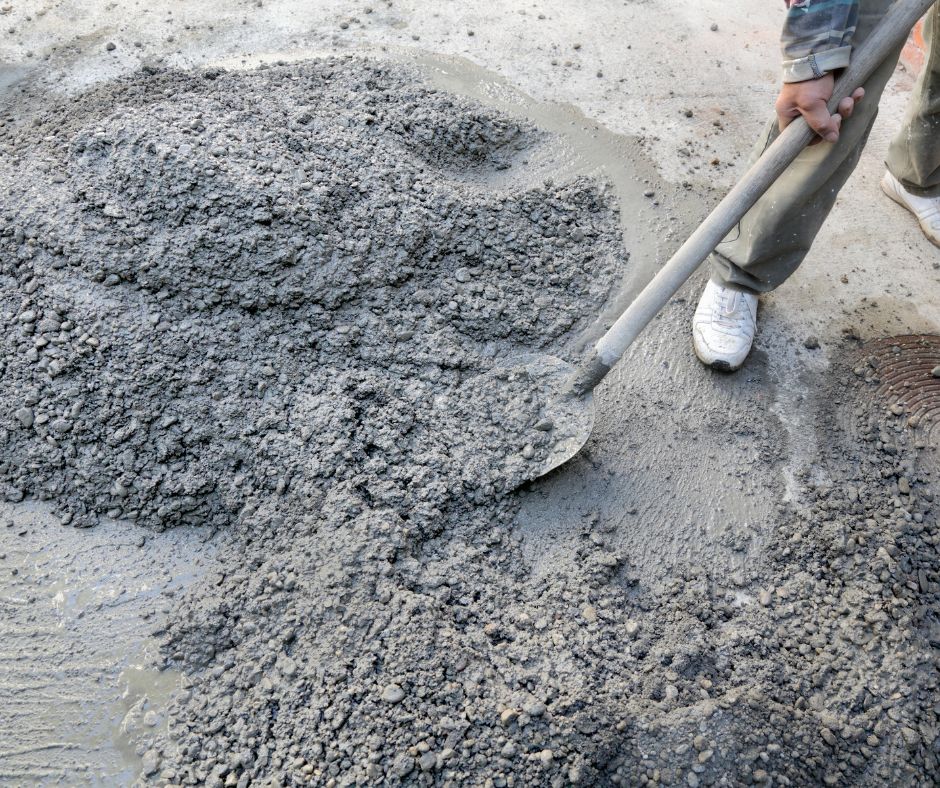
Concrete is one of the most widely used building materials in the world, and for good reason. It’s durable, versatile, and can be molded into a variety of shapes and forms. The basic process of concrete work involves mixing cement, water, sand, and aggregate to form a paste that hardens over time through a chemical reaction called hydration. Concrete finishing is the final stage of concrete work, where the surface is smoothed, textured, or otherwise treated to achieve the desired look and feel.
A Brief History of Concrete
Concrete dates back thousands of years, with early forms used by ancient civilizations such as the Romans, who developed a version that allowed them to build massive structures like the Pantheon and aqueducts. Interestingly, Roman concrete is thought to be more durable than much of the concrete we use today, due to their unique mix design that included volcanic ash. Modern concrete, while highly adaptable, still faces its challenges, especially when not mixed or finished properly.
What Is Concrete Finishing?
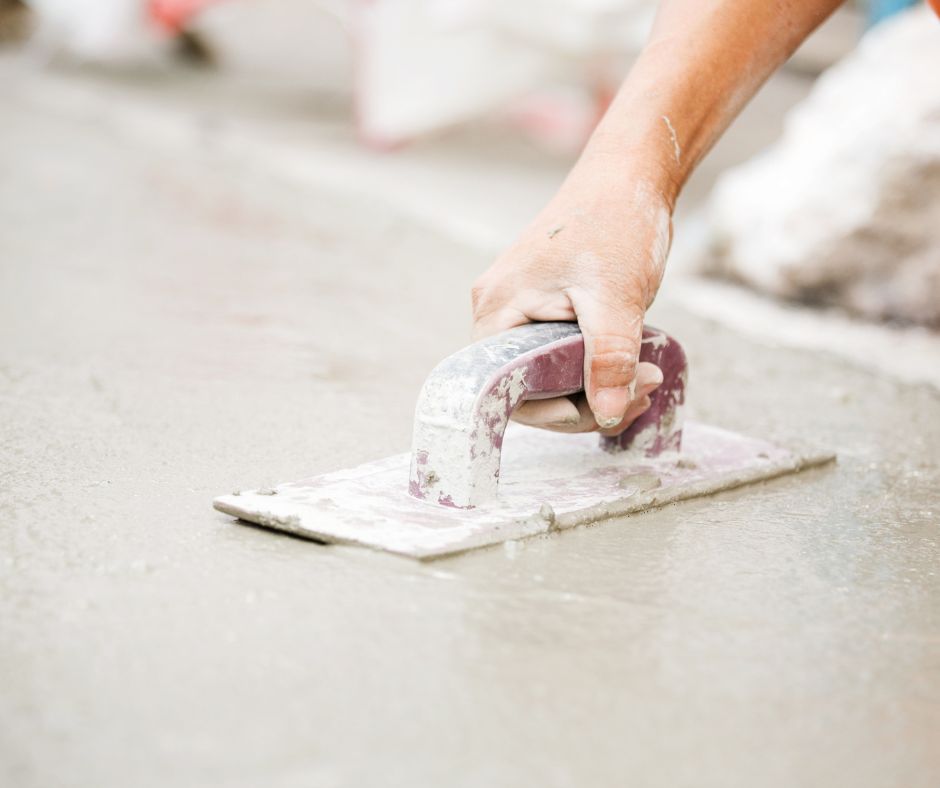
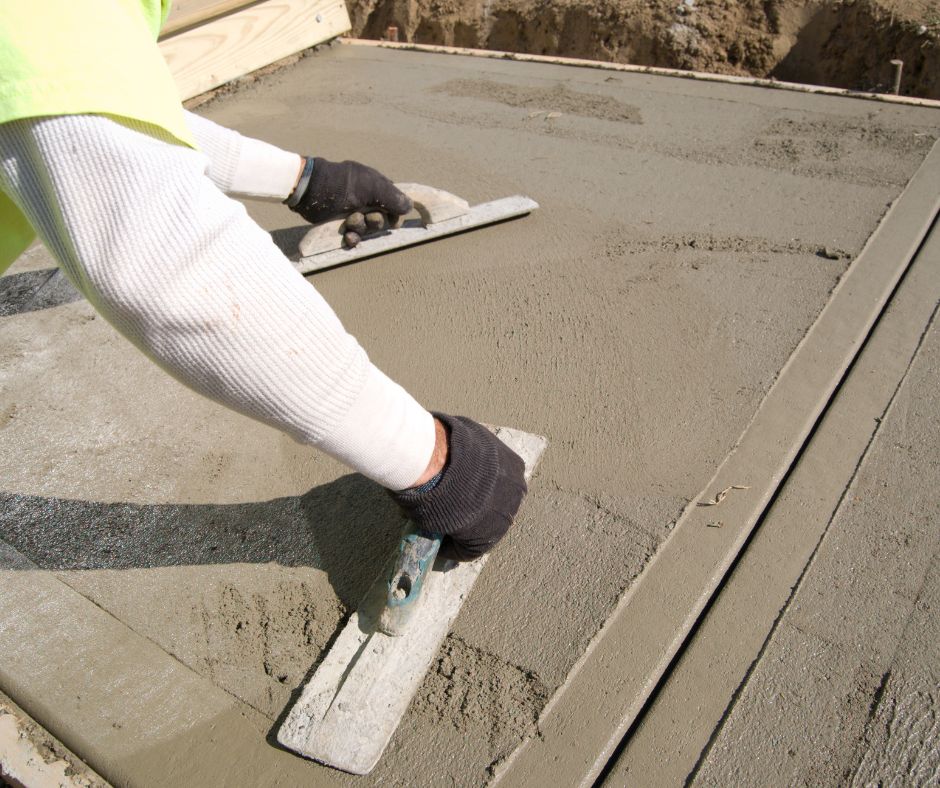
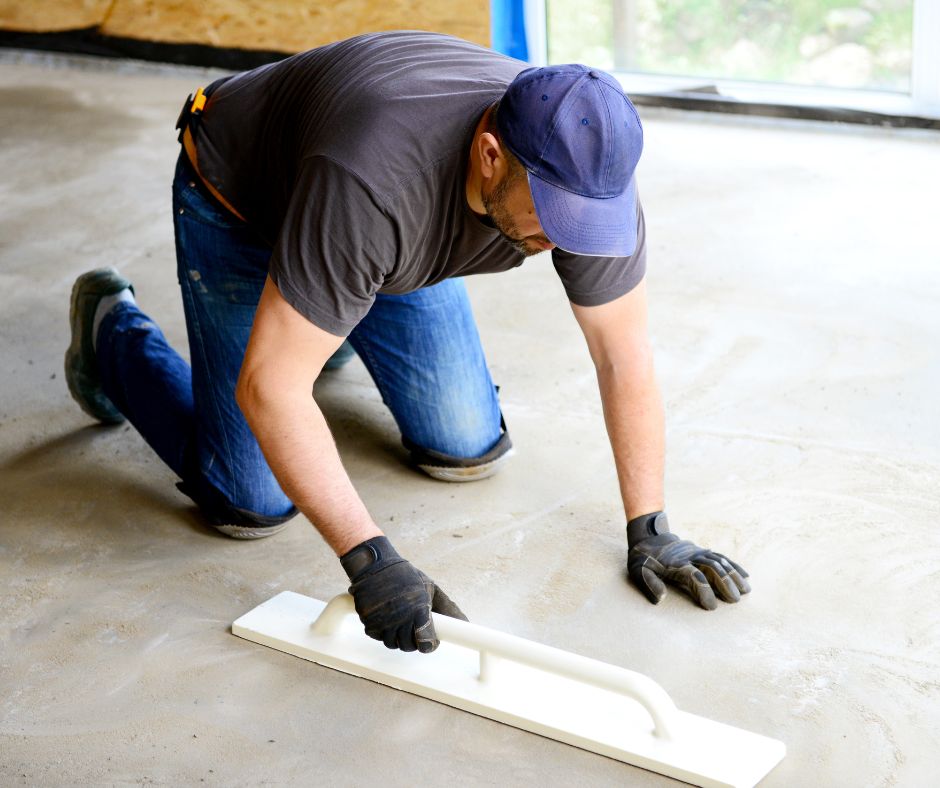
Concrete finishing involves smoothing and treating the surface of the concrete slab once it’s been poured. The goal is to remove any imperfections, ensure a level surface, and apply a texture if needed, such as a broom or trowel finish. This stage is crucial because the finished product is what will be visible and functional for years to come.
Signs of a Bad Concrete Finish Job
A poorly finished concrete slab can have many issues. Here are some common signs of bad workmanship, and how they compare to a well-finished job:
- Rough Surface: A good concrete surface should be smooth or evenly textured. A rough surface usually indicates improper finishing techniques or working the concrete too late.
- Low Spots and High Spots: A well-finished slab will be level. Low areas or high spots indicate poor leveling, leading to potential water pooling or trip hazards.
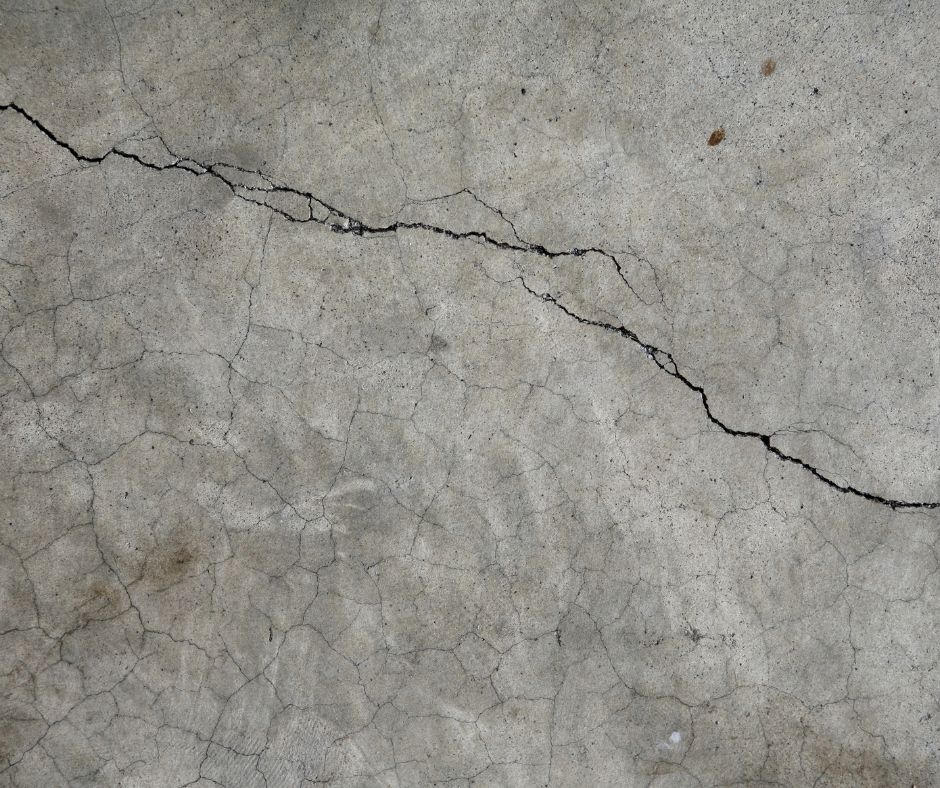
- Concrete Cracks: While hairline cracks are somewhat inevitable due to shrinkage, excessive or structural cracks often suggest poor curing or improper expansion joints.
- Air Pockets or Pitting: Small air pockets and pitting on the surface of the concrete can occur due to over-vibration or poor mix design, leading to aesthetic issues and weaker surfaces.
- Different Color: A uniform color is the mark of a well-finished job. Variations in color may be a result of excess water in certain areas or inconsistent mixing.
How Good Contractors Avoid These Problems
A good concrete contractor will take steps to ensure the concrete installation process avoids these common mistakes. They will:
- Use the right mix design and water content to prevent excess water from weakening the concrete.
- Place expansion joints and control joints correctly to prevent cracking.
- Monitor the curing process, avoiding issues like freeze-thaw damage that can occur if the slab isn’t protected.
- Finish the slab promptly to avoid issues like low spots, rough surfaces, and poor aesthetics.
Step-by-Step Guide to Repairing a Bad Concrete Finish Job
1. Assess the Damage
Before diving into the repair process, you need to fully understand what you’re dealing with. There are several issues that can arise from a bad concrete finish, each requiring different approaches:
- Hairline Cracks: These are small, often superficial cracks that form as the concrete dries and shrinks. They usually don’t indicate structural issues but can be a sign of improper curing.
- Low Spots or High Spots: Uneven surfaces where water can pool (low spots) or create trip hazards (high spots) indicate a poor leveling job.
- Pitting or Air Pockets: These are tiny holes on the surface of the concrete that occur due to trapped air during the pour or finishing.
- Rough Surface: A surface that feels bumpy or uneven may indicate improper troweling or finishing at the wrong time during the curing process.
Once you’ve identified the specific problems, you can tailor your repair method accordingly. This assessment will determine if you need simple cosmetic fixes like a skim coat or more significant repairs like filling large cracks or leveling an entire slab.
2. Gather the Necessary Tools and Materials
The tools and materials you need will vary depending on the severity of the damage, but here’s a comprehensive list of what you might need:
- Trowels: For applying and smoothing concrete or repair materials.
- Floats: Useful for giving a smooth finish to the surface.
- Chisels and Hammers: Necessary for removing loose or damaged concrete.
- Wire Brushes: To scrub and clean the surface before applying repair material.
- Concrete Grinding Tool: For leveling high spots on larger jobs.
- Self-Leveling Concrete Compounds: Used to fill and smooth out low spots.
- Bonding Agents: Essential to ensure the new repair material adheres to the old concrete surface.
- Patch Kits: Pre-packaged repair materials for small cracks and holes.
- Skim Coat Mix: To provide a thin, smooth layer over the damaged surface.
- Expansion Joints: For larger jobs where structural cracks are an issue.
- Clean Water and Buckets: You’ll need water for mixing and cleaning tools.
- Safety Gear: Gloves, goggles, and masks to protect yourself from dust and chemicals.
3. Prepare the Surface
Preparation is critical to ensuring a long-lasting repair. Here’s how to properly prep the surface:
- Clean the Area: Use a wire brush or broom to scrub the surface of the concrete slab. Remove any dirt, dust, loose debris, and damaged concrete. If you’re dealing with old concrete driveways or slabs, a pressure washer can help remove dirt from deep within the pores of the concrete. If there are large chunks of damaged concrete, use a hammer and chisel to break them off carefully.
- Cut Around Damaged Areas: If you’re repairing significant damage, it’s crucial to cut clean edges around the damaged area to ensure that the patch will adhere properly. Use a concrete saw or angle grinder for precise cutting. This is particularly important when filling larger cracks or areas where pieces of the concrete slab have broken away.
- Apply Bonding Agent: Once the surface is cleaned, apply a concrete bonding agent to ensure that the new material will stick to the old concrete. Without this step, the repair might separate from the existing slab over time.
- Address Underlying Issues: If your slab has underlying issues like poor drainage or settling, consider addressing these before proceeding with the repair. For example, if your slab is suffering from freeze-thaw damage because of water pooling in low spots, you may need to improve the drainage to avoid future problems.
4. Mix and Apply the Repair Material
Depending on the type of repair, you may use different materials:
- Hairline Cracks: For small cracks, use a concrete repair compound that’s specifically designed for cracks. Mix according to the manufacturer’s instructions, which typically involves combining water and the repair powder. Use a trowel to press the compound into the crack, ensuring it fills completely.
- Low Spots: Use a self-leveling concrete compound for filling low areas. This compound spreads evenly over the surface and levels itself out. Mix it until it’s pourable but not too runny—too much water will weaken the repair and cause issues later. Pour the compound into the low spots, using a long trowel or a float to spread it out if necessary. Let gravity do most of the leveling.
- High Spots: Use a concrete grinder or sander to reduce the high spots on the slab. Start with a coarse grit to remove excess material quickly, then switch to finer grits for smoothing.
- Large Cracks or Broken Areas: If you’re dealing with larger cracks, you’ll need to apply a thicker patch compound. For deeper cracks or gaps, consider using a two-part epoxy patch or concrete repair kit that’s designed for structural repairs. Apply it with a trowel, making sure it’s pressed deep into the crack. Larger jobs may require placing control joints or expansion joints to allow the slab to move without cracking again.
5. Level and Smooth the Surface
After applying the repair material, it’s important to ensure that the surface is properly leveled and smoothed for a high-quality finish:
- Use a Trowel: If you’re working on a small area, a trowel is typically the best option for smoothing the surface. Work the material in thin layers, ensuring that it fills all voids and is flush with the surrounding surface. For hairline cracks, ensure that the repair compound is pressed deep into the crack before smoothing it out.
- Float for Larger Areas: If you’re repairing a larger area or an entire slab, use a float to smooth out the surface. You can either use a hand float for smaller areas or a bull float for larger slabs. Floats ensure the material is evenly spread, removing air pockets and leaving a smooth finish.
- Check for Leveling: Use a long straight edge or a level to ensure that the surface is even. This step is especially important if you’ve repaired low areas or high spots. If needed, apply additional material to fill in gaps or sand down high spots before the compound fully cures.
6. Allow for Proper Curing
Curing is one of the most important steps in ensuring the durability and longevity of your repair. Proper curing prevents the development of concrete cracks and freeze-thaw damage later on:
- Keep the Surface Moist: In most cases, you’ll want to keep the concrete surface slightly moist for several days to prevent rapid drying, which can lead to plastic shrinkage cracks. You can mist the surface with water or cover it with plastic sheeting to retain moisture.
- Protect from Temperature Extremes: If you’re working in extreme heat or cold, take steps to protect the newly repaired slab. High temperatures can cause rapid evaporation and cracking, while freezing temperatures can prevent the concrete from curing properly.
- Wait for Full Strength: Although the repair material may harden within a few hours, concrete continues to gain strength for several days. Avoid placing heavy loads or equipment on the repaired surface until the material has reached its full curing time, usually between 24-72 hours.
7. Seal the Surface
Once your repair is complete and the slab is fully cured, applying a concrete sealant will help protect your concrete flooror driveway from moisture and stains. This is particularly important in areas that experience freeze-thaw cycles, as moisture can penetrate the pores of the concrete and cause further damage during freezing and thawing.
- Choose the Right Sealant: For outdoor areas like concrete driveways, use a penetrating sealer that can handle the elements. For indoor floors, an acrylic or epoxy-based sealer might be a better choice for providing a durable finish.
- Apply Evenly: Using a roller or sprayer, apply the sealant evenly over the entire surface. Be careful not to apply too much at once—thin layers tend to adhere better and dry more evenly.
- Let it Cure: After sealing, give the surface ample time to dry and cure according to the manufacturer’s instructions before allowing traffic on it.
When to Call a Professional
While many concrete repair tasks can be handled as a DIY project, there are times when calling a concrete contractor is the best option. If the damage is extensive or the entire slab is compromised, it’s better to consult with concrete expertsor a general contractor to avoid costly mistakes.
Conclusion
A poorly finished concrete job can be frustrating, but with the right tools and techniques, it’s possible to repair it and restore the surface to high quality. By understanding the common mistakes made during finishing, you can also avoid similar problems in the first place. Whether you’re fixing minor damage or resurfacing an entire area, using the best approach will ensure a long-lasting and durable result. Good luck with your project!
About HomeMembership
HomeMembership is a 5 Star Google Rated and A+ BBB home warranty company. Learn more about how they can help you with unexpected home repairs. They have a low deductible, you pick your own provider and there’s no fine print. If it’s in the brochure – it’s covered! Click here to learn more!
Related Posts


